Smart thermostats have become increasingly popular in home climate control systems. One such option is the mini-split smart thermostat, designed to work with mini-split heating and cooling systems. These thermostats offer greater energy efficiency, customizable settings, and enhanced control over your home’s temperature. Installing a mini-split smart thermostat can seem complex, but with the right guidance, it is a straightforward process. This article will walk you through everything you need to know to install your mini-split smart thermostat effectively.
Understanding Your Mini-Split System
What Is a Mini-Split System?
Mini-split systems are a popular choice for heating and cooling individual rooms or areas in a home. Unlike traditional HVAC systems, mini-splits do not require ductwork. Instead, they consist of an outdoor unit and one or more indoor air-handling units. This design allows for more precise temperature control and can be more energy-efficient, especially in smaller spaces.
Each indoor unit can be controlled independently, making mini-split systems ideal for homes with varying heating and cooling needs. The ability to customize the climate in different areas of the home can lead to increased comfort and lower energy bills.
Importance of a Smart Thermostat
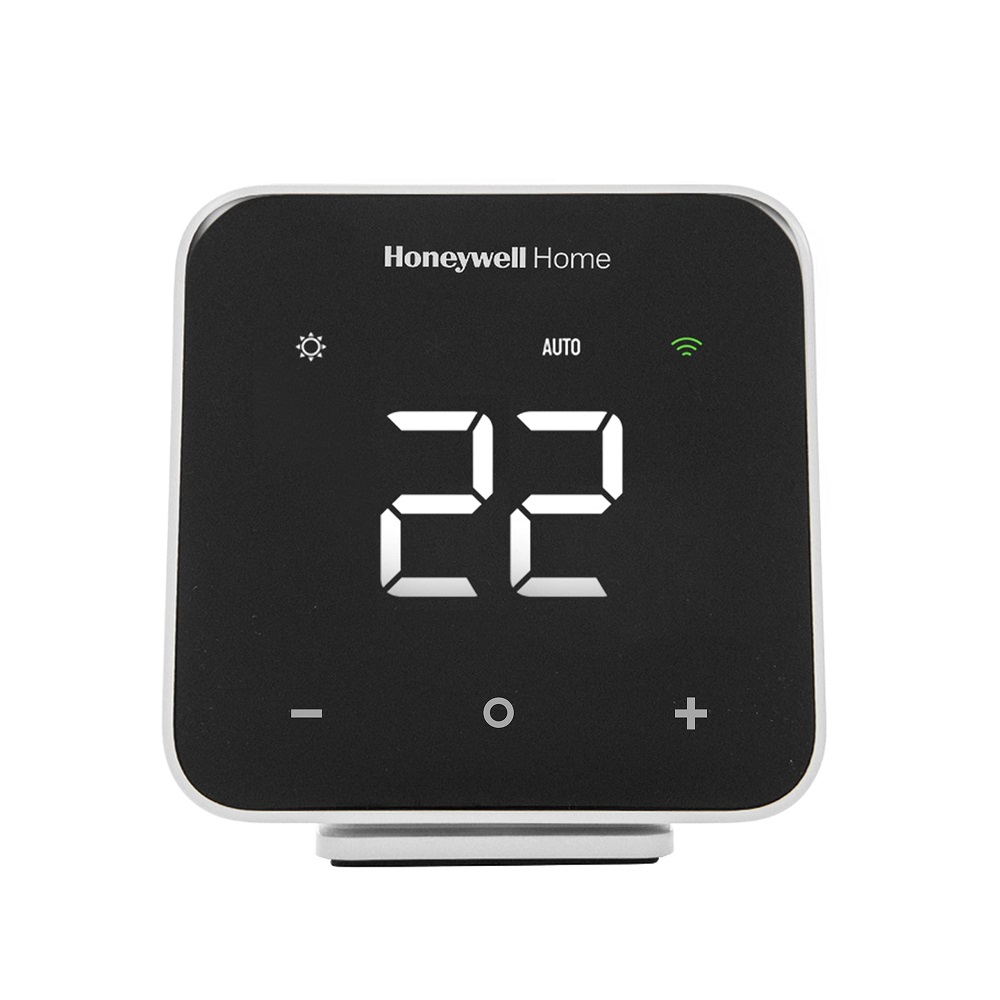
A smart thermostat can enhance the performance of your mini-split system. These devices allow users to program schedules, adjust settings remotely, and monitor energy usage. Many smart thermostats also have integration with home automation systems, enabling voice control through virtual assistants like Amazon Alexa or Google Assistant.
By installing a smart thermostat, homeowners can optimize energy consumption and ensure a comfortable indoor environment. The convenience of remote control allows users to adjust temperatures even when away from home, contributing to improved energy efficiency.

Preparing for Installation
Gather Necessary Tools and Equipment
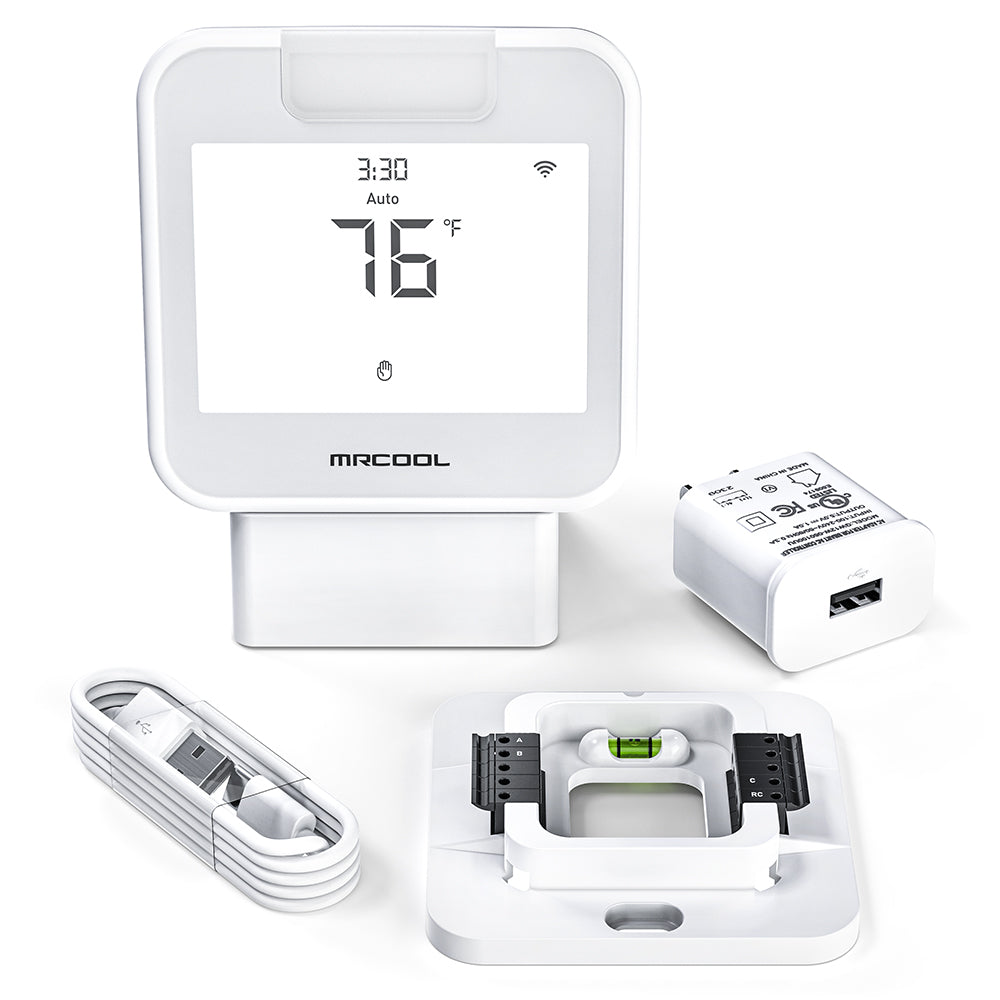
Before you begin the installation process, gathering all needed tools and materials is crucial. This toolkit typically includes a screwdriver, a drill, a level, wire strippers, and a multimeter. Having everything on hand will streamline the installation process and prevent unnecessary interruptions.
You will also need the mini-split smart thermostat itself, along with any additional mounting hardware provided in the packaging. Carefully read the user manual to familiarize yourself with the specific requirements for installation and setup.
Shut Off Power to the HVAC System
Safety is paramount when installing any electrical device. Before starting work, turn off the power to your mini-split system at the circuit breaker. This precaution will prevent any electrical hazards during the installation process. Double-check that the power is off by attempting to turn on the system; this ensures that it is safely de-energized.
By shutting off the electricity, you minimize the risk of shock while handling wires or components. It’s an essential step for ensuring your safety as you work on your thermostat installation.
Removing the Existing Thermostat
Document Wiring Connections
If you are replacing an existing thermostat, take time to document the wiring connections before removal. Follow these steps: first, take a clear picture of the wiring configuration to use as a reference during the new installation. Identify where each wire is connected to the old thermostat, labeling them with masking tape if necessary.
Most mini-split thermostats have labeled terminals (like R, W, Y, and G), which correspond to specific functions such as power and heating/cooling signals. Take thorough notes if the original wiring is unclear so you can easily reconnect them later.
Safely Disconnect the Old Thermostat
After documenting the connections, proceed with removing the old thermostat. Start by unscrewing the thermostat from the wall plate. Gently pull the thermostat away from the wall, avoiding any abrupt movements that could damage the wires. Once removed, unscrew each wiring terminal and carefully disconnect the wires.
Ensure that no wires fall into the wall cavity during disconnection. If you have a remote sensor, you may need to remove additional components as specified in the old thermostat’s user manual.

Installing the New Mini-Split Smart Thermostat
Mounting the Wall Plate
Now it’s time to prepare for your new mini-split smart thermostat. Begin by mounting the new wall plate securely to the wall. Depending on your chosen model, you may need to drill holes for screws or use anchors if mounting on drywall. Ensure that the mounting plate is level to avoid any misalignment issues during operation.
Before securing the wall plate fully, double-check that the alignment is correct. A level wall plate will lead to a straight and professional-looking installation, ensuring the thermostat functions optimally.
Connect the Wires
Next, connect the wires from the wall to the corresponding terminals on the new thermostat. Follow the documentation and wire color codes carefully to avoid confusion. Generally, the R wire connects to the R terminal for power, while the W, Y, and G wires connect to their respective terminals for heating and cooling functions.
After confirming the connections, double-check that each wire is securely fastened and that no exposed wire is visible. Proper wiring ensures that the thermostat can send and receive signals correctly.
Configuring the Smart Thermostat
Powering On the Device
Once the new thermostat is securely mounted and wired, turn the power back on at the circuit breaker. After restoring power, your thermostat should power on automatically. Follow the on-screen prompts to navigate through the initial setup process. Most smart thermostats will guide you through configuring your Wi-Fi settings and selecting preferences.
During the configuration process, the thermostat may ask for your location and preferred temperature settings. Inputting this information allows the thermostat to adjust automatically to your preferences.
Connecting to Wi-Fi and App Setup
To maximize the benefits of a smart thermostat, connect it to your home Wi-Fi network. This connection enables remote control and monitoring via a smartphone app. Download the corresponding app for your thermostat on your mobile device, and follow the prompts to create an account or log in.
Once logged in, follow the in-app instructions to connect to your thermostat. The process often involves scanning a QR code displayed on the thermostat or entering a PIN code to establish a connection. Ensure the thermostat is online to access its smart features fully.

Testing and Calibration
Run a System Test
After installing and configuring your mini-split smart thermostat, it’s essential to perform a system test. Set the thermostat to heat or cool according to your preference, depending on the current climate. Monitor the system’s response to ensure it activates and adjusts the temperature to the specified settings.
Observe how quickly the mini-split system reaches the set temperature. This initial testing will help you determine if the thermostat is functioning correctly. If the system does not respond as expected, double-check your wiring connections and ensure that the settings are configured properly.
Calibrate for Accuracy
To ensure your mini-split smart thermostat displays an accurate temperature reading, calibration may be necessary. Most smart thermostats have built-in calibration features or can be adjusted through the settings menu. This process helps align the displayed temperature with the actual room temperature.
You can verify the thermostat’s accuracy by using an external thermometer to compare readings. It’s important to have your thermostat calibrated correctly to maintain energy efficiency and comfort throughout the space.
Maintenance and Troubleshooting
Regular Maintenance
Maintaining your mini-split smart thermostat will prolong its lifespan and ensure optimal performance. Keep the thermostat clean and free from dust or debris by gently wiping the screen and surrounding area with a microfiber cloth. Avoid using harsh chemicals that could damage the surface.
It’s also essential to monitor the batteries if your thermostat operates wirelessly. Check the battery status periodically and replace them as needed to avoid unexpected shutdowns or outages.
Troubleshooting Common Issues
Despite careful installation, you may encounter issues with your mini-split smart thermostat. Common problems can include connectivity issues, inaccurate temperature readings, or unresponsive units. If you run into connectivity problems, check your Wi-Fi connection and ensure the thermostat is within range.
For temperature inaccuracies, verify that the thermostat is calibrated correctly. If the thermostat remains unresponsive or continues to have issues, consult the user manual for troubleshooting guidance or contact customer support for assistance.
In conclusion, installing a mini-split smart thermostat enhances climate control in your home or office. By following this complete guide, you can effectively navigate the installation process, from preparation and removal of the old thermostat to the calibration and troubleshooting of the new unit. Enjoy the benefits of precise temperature control, increased energy efficiency, and the convenience of smart features in your heating and cooling system!