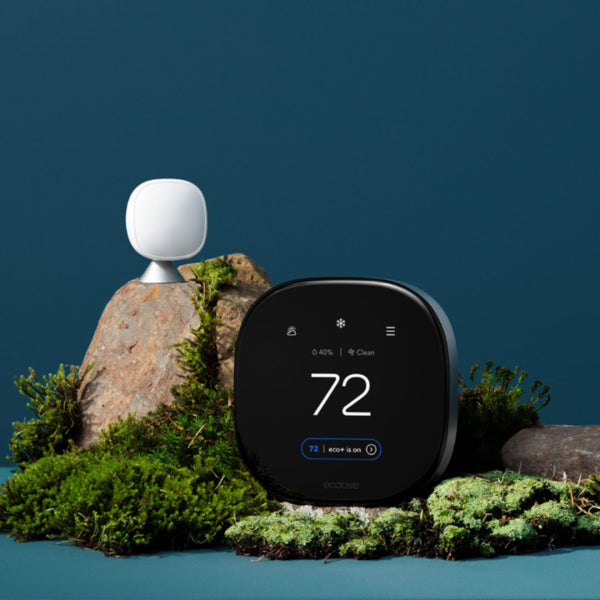
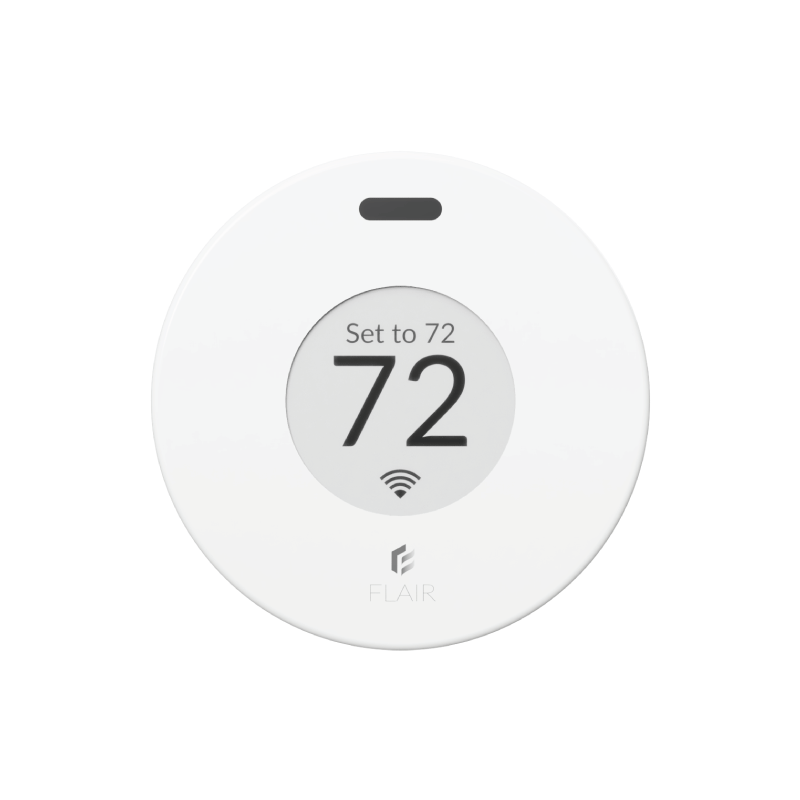
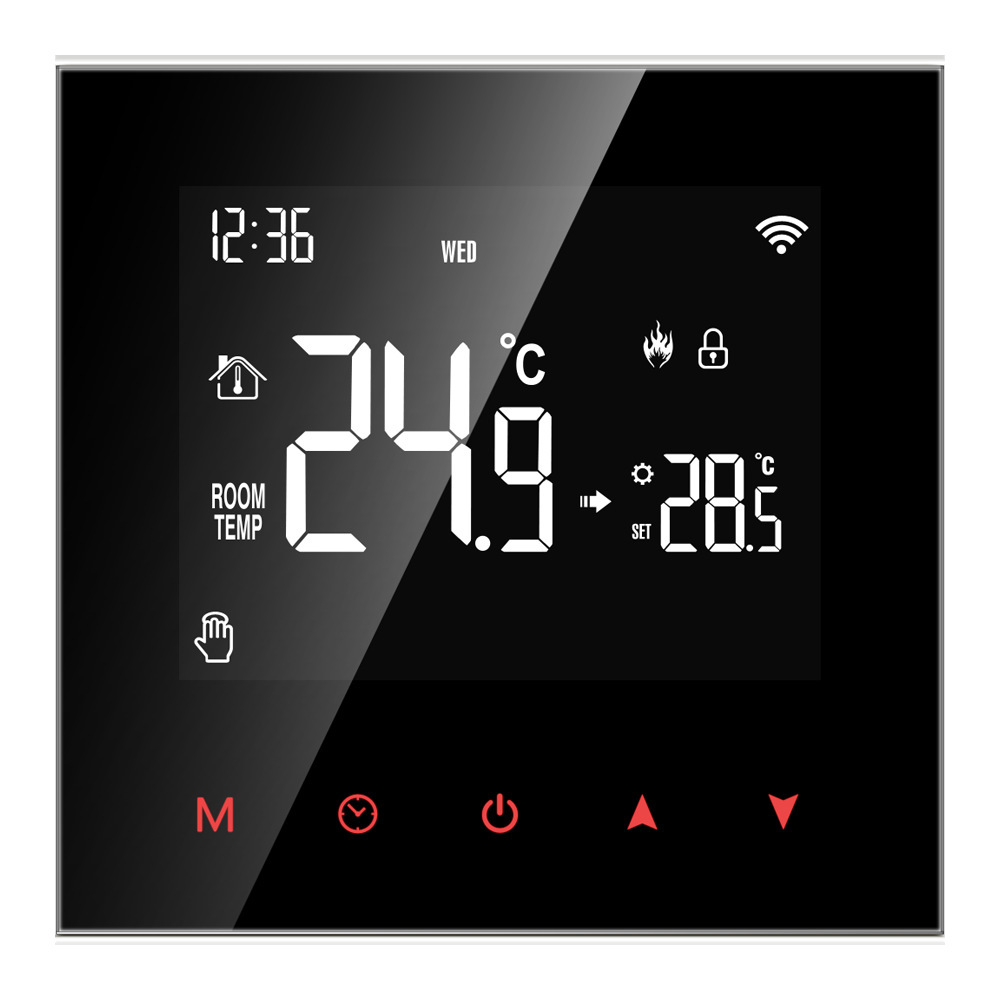
Installing a smart thermostat can greatly enhance your home’s energy efficiency and comfort. These devices offer advanced features that allow you to control your heating and cooling systems from anywhere using your smartphone. While the installation process may seem daunting, it is manageable with the right tools and guidance. This step-by-step guide will help you navigate the installation of a smart thermostat in your home.
Understanding Your Smart Thermostat
Before diving into installation, it is crucial to understand what a smart thermostat is and how it differs from a traditional thermostat. Smart thermostats connect to your home Wi-Fi network, allowing control via smartphone apps. They can learn your heating and cooling preferences over time and adjust settings automatically to optimize energy usage.
Benefits of Smart Thermostats
- Energy Savings: Smart thermostats help reduce energy consumption by learning your schedule and adapting settings. This can lead to lower utility bills.
- Remote Access: With a smart thermostat, you can control your home’s temperature from anywhere. This feature is especially useful when you forget to adjust the thermostat before leaving home.
- Integration with Smart Home Systems: Many smart thermostats can be integrated with other smart home devices, enhancing automation capabilities. For example, you can set your thermostat to adjust when you unlock your smart door.
Understanding these benefits will motivate you to invest time in the installation process.

Gathering Necessary Tools and Materials
Before beginning the installation, gather all the necessary tools and materials. Having everything on hand will streamline the process and reduce frustration.
Tools You’ll Need
- Screwdriver: A Phillips screwdriver is often required to remove the old thermostat and install the new one.
- Drill: If new mounting holes are needed, a drill will be required.
- Level: A level ensures that your new thermostat is correctly positioned.
- Smartphone or Tablet: This will be used to access the installation instructions and app setup.
Materials Required
- Smart Thermostat: Choose a model that suits your needs and is compatible with your heating and cooling systems.
- Mounting Hardware: Most smart thermostats come with mounting screws and anchors. Ensure these are included before starting.
- Wire Labels: It may be helpful to have wire labels on hand to mark the different wires connected to your old thermostat.
By ensuring you have the appropriate tools and materials, you will set yourself up for success.
Removing the Old Thermostat
Now that you have gathered your tools and materials, you can begin the installation process by removing your old thermostat. This step is essential for preparing the wall for the new unit.
Turn Off Power
Start by turning off the power to your heating and cooling system. Locate your HVAC system’s circuit breaker and switch it off. This step ensures your safety while working with electrical components.
Remove the Old Unit
Once you have turned off the power, carefully remove the cover of the old thermostat. You may need to unscrew it to do this. Note the placement of the wires connected to the terminals by taking a picture or labeling them with wire labels. This documentation will help during the installation of the new thermostat.
Disconnect Wires
After documenting the connections, carefully disconnect the wires. Depending on the thermostat model, you may need to loosen terminal screws or unclip connectors. Keep the old thermostat aside, as you may need to refer back to it later.

Installing the New Smart Thermostat
With the old thermostat removed, it is time to install the new smart thermostat. Follow the manufacturer’s instructions closely, as installation steps may vary between models.
Attach Mounting Plate
Most smart thermostats come with a mounting plate. Align the mounting plate with the wall. If needed, use a level to ensure it is straight. Mark the drill holes or anchors for the screws. If necessary, drill holes into the wall and insert anchors for added support.
Connect Wires
Refer back to the picture you took of the old thermostat or the wire labels you created. Connect the wires from your wall to the corresponding terminals on the new thermostat. Make sure each wire is securely attached, as loose connections can result in malfunction. Use the manufacturer’s guide to verify which wires correspond to the terminals properly.
Attach the Thermostat
Once the wires are connected, attach the main thermostat body to the mounting plate. Ensure that it clicks into place securely. Depending on the model, you may need to fasten it with screws. Review the installation manual for any additional steps required before powering on the device.
Configuring the Smart Thermostat
Now that your smart thermostat is physically installed, it’s time to configure it for your home’s heating and cooling needs. This step will involve connecting the thermostat to your Wi-Fi network and setting it up for use.
Power On the Device
Return to your circuit breaker and turn the power back on for your heating and cooling system. Your new thermostat should power on and prompt you to select your preferred language and Wi-Fi network. Follow the on-screen instructions to complete this setup.
Download the Smartphone App
To take full advantage of your smart thermostat’s features, download the associated smartphone app. Most modern smart thermostats have an accompanying app available on either the Apple App Store or Google Play Store. After downloading the app, create an account or log in using your existing credentials.
Connect to Wi-Fi
Once in the app, follow the instructions to connect your thermostat to the Wi-Fi network. This may involve entering your network password. A strong Wi-Fi connection is essential for remote access and smart features.

Testing and Final Adjustments
After completing the installation and configuration, it is important to test your new smart thermostat to ensure everything is functioning correctly. This step will help you troubleshoot any issues that may arise.
Perform a System Test
In the app, locate the system test option. This feature allows you to check whether your heating and cooling systems are responding as expected. Follow the prompts to test both heating and cooling modes.
Fine-Tune Settings
Once testing is complete, take time to explore the app’s features. Many smart thermostats offer schedules, geofencing, and energy-saving modes. Adjust your settings according to your preferences and lifestyle. For example, you may want the temperature to drop during the day while you are at work and rise in the evening when you return home.
Monitor Performance
Over the next few days, monitor the performance of your thermostat. Check the app for any alerts or notifications, and keep an eye on your energy bills to track potential savings. Adjust settings as needed to maximize comfort and efficiency in your home.
Conclusion
Installing a smart thermostat can greatly improve your home’s comfort and energy efficiency. By following this step-by-step guide, you have learned how to gather the necessary tools, remove your old thermostat, install the new device, and configure it for optimal use. The benefits of a smart thermostat, including energy savings and remote access, make it a worthwhile investment.
After installation, remember to monitor the performance and adjust the settings based on your preferences. Enjoy the convenience of managing your home’s temperature from your smartphone, and take pride in the successful installation of your new smart thermostat. With these advancements, you can create a more comfortable living environment while being mindful of energy consumption.