Button batteries, known for their small size and wide applications, power many devices in our daily lives. From watches and hearing aids to toys and remote controls, these batteries are essential to our modern conveniences. However, improperly handling these batteries can pose serious safety risks, particularly if swallowed by children or pets. To ensure your safety and those around you, it’s crucial to know how to safely remove and replace a button battery. In this comprehensive guide, we will discuss the steps to follow, the tools required, and safety precautions to take while working with button batteries.
Understanding Button Batteries
What Are Button Batteries?
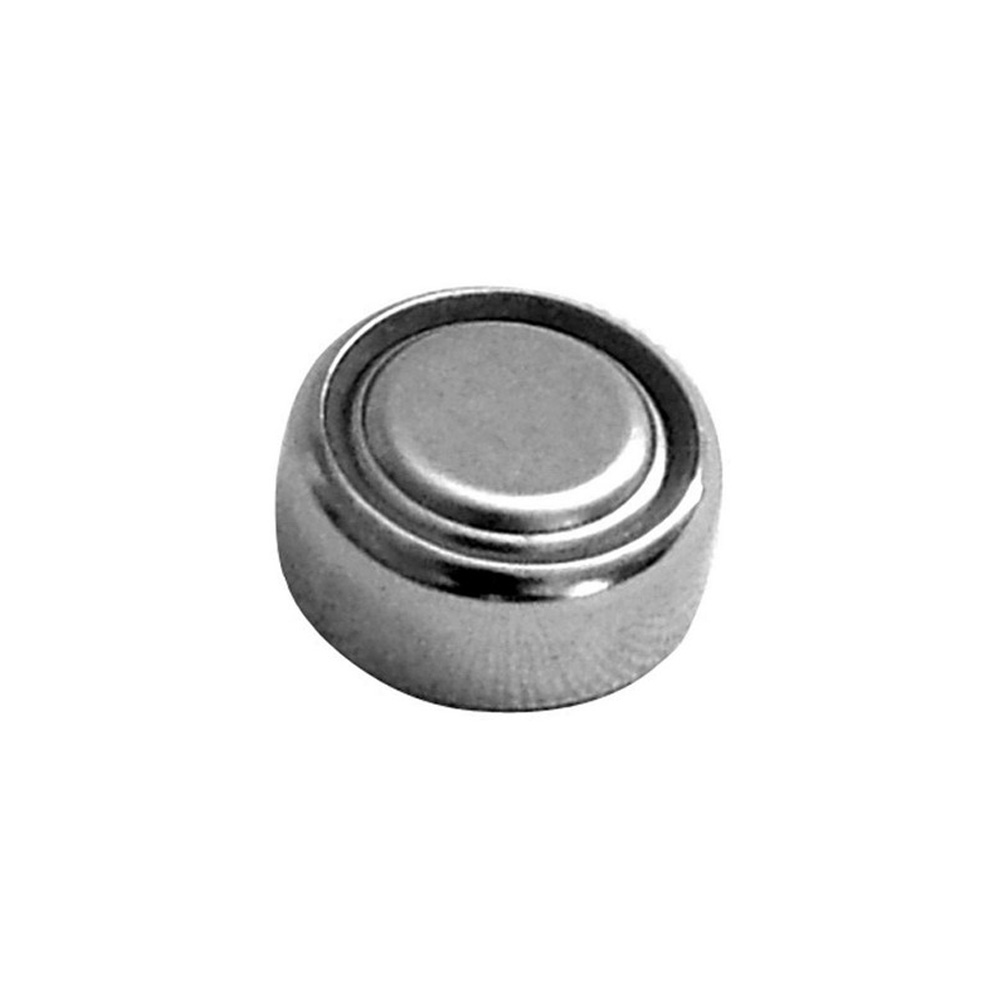
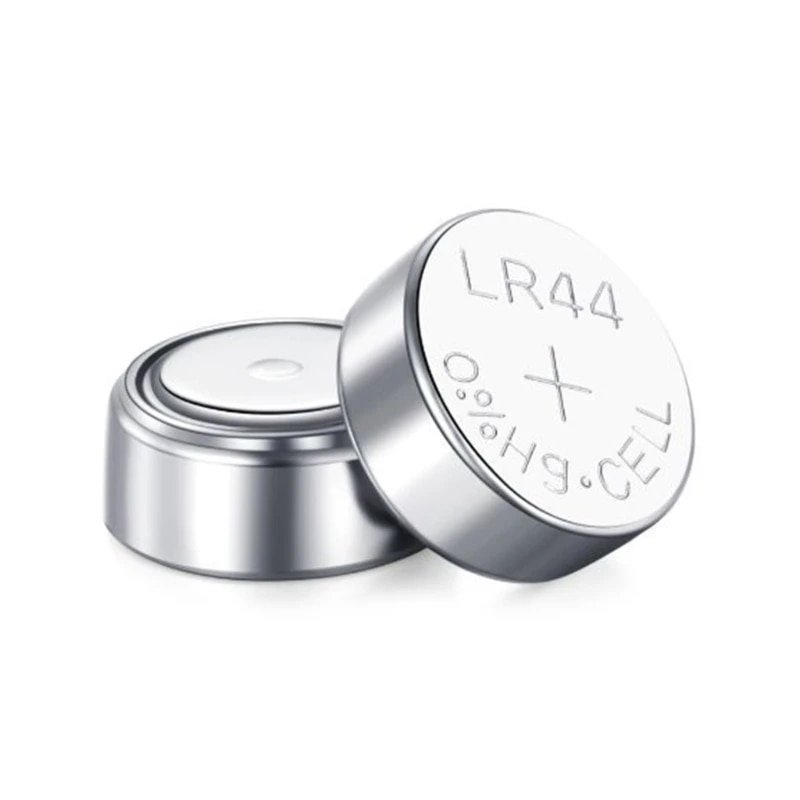
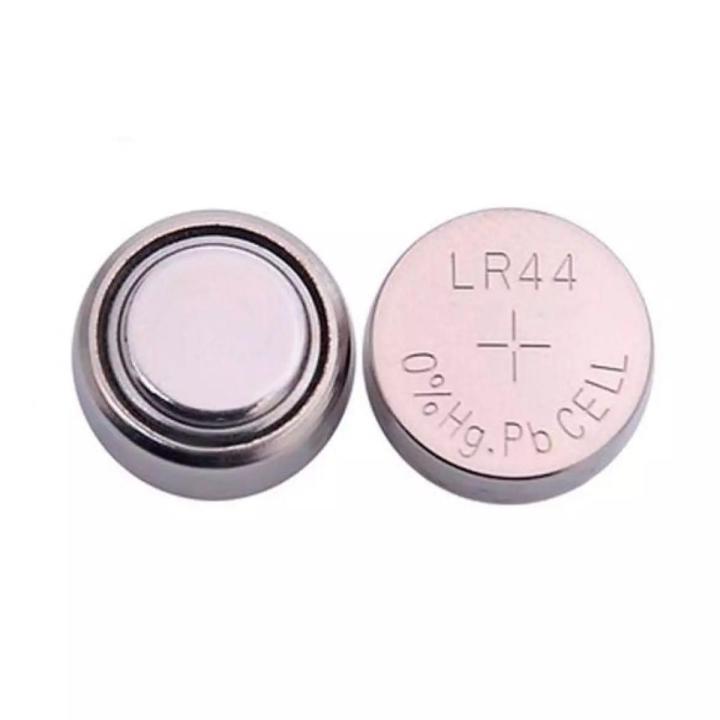
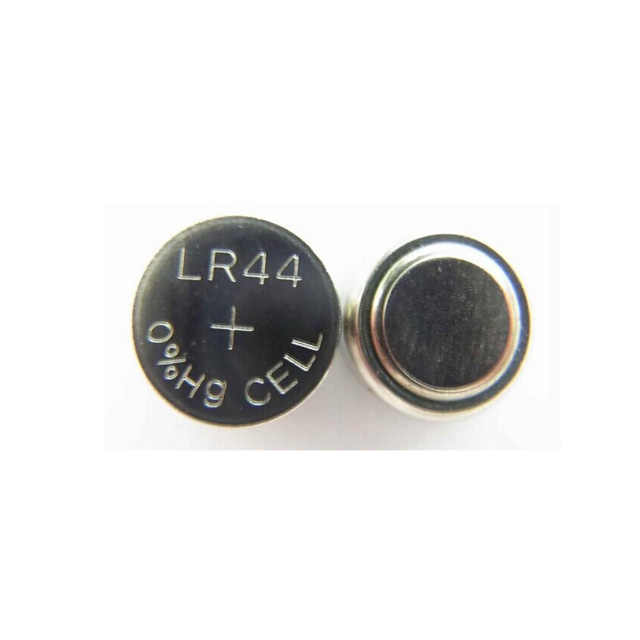
Button batteries, often referred to as coin cells due to their shape, are compact power sources used in various electronic devices. Common types include lithium button batteries, alkaline batteries, and silver oxide batteries, each varying in voltage and chemical composition. The most commonly used sizes are CR2032, CR2025, and CR2016, which are used in devices ranging from fitness trackers to small handheld gadgets. Understanding the specific type and size of the battery you are dealing with is essential for proper replacement.
Safety Concerns with Button Batteries
While button batteries serve crucial functions, they can be hazardous, especially if mishandled. One significant concern is the risk of ingestion by children and pets. If swallowed, button batteries can cause severe chemical burns and internal injuries, requiring immediate medical attention. Keep used or unused batteries out of reach of young children and store them safely. Knowing the risks associated with button batteries reinforces the importance of handling them carefully.

Tools and Materials Needed
Essential Tools for Removal
Before attempting to remove a button battery, gather the necessary tools to make the process safe and efficient. Here’s a basic list to help you get started:
- Screwdriver: If the battery compartment is secured with screws, you’ll need a small, flat-head or Phillips screwdriver. Always use the correct size tip for your screws to avoid stripping them.
- Tweezers: Using tweezers can help you grip the battery safely, reducing the risk of accidental short-circuits that may occur with direct finger contact.
- Plastic Spudger or Pry Tool: This non-conductive tool helps to open battery compartments without damaging the device. Metal tools can scratch and damage components, so a plastic tool is ideal.
- Container or Bag: Prepare a container to hold the old battery once removed. This helps prevent accidental ingestion or mixing with regular trash.
Additional Safety Gear
While not strictly necessary, it’s wise to have some additional safety equipment on hand to enhance your protection:
- Safety Glasses: If you’re concerned about any chemicals leaking from the battery, wearing safety glasses can protect your eyes.
- Gloves: Latex or nitrile gloves protect your hands from any potential leakage of battery acid, providing an additional safety layer while handling old batteries.
Having the right tools and materials ready will streamline the process and reduce the potential for accidents.

Step-by-Step Removing a Button Battery
Step 1: Prepare the Work Area
Start by finding a clean, well-lit workspace to ensure clarity while you work. A flat surface is preferable since it prevents the battery or device from rolling away. Remove any clutter from the area to minimize distractions and keep tools organized. This preparation will enable you to focus on the task at hand.
Step 2: Power Off the Device
Always power off the device you are working on before attempting to remove the battery. Whether it’s a remote control, toy, or watch, ensure it is fully turned off. This precaution prevents any risk of electrical shock or malfunction while you handle the battery. If possible, remove any other battery sources from the device to reduce the complexity of the situation.
Step 3: Locate the Battery Compartment
Next, locate the button battery compartment. In some devices, the compartment may be on the back or underside, while in others, it could be easily accessible from the front. Look for a small cover, often held in place by screws or spring clips. If there are screws, use the appropriate screwdriver to carefully remove them and set them aside in a safe place.
Step 4: Remove the Old Battery
Once the battery compartment is open, gently use your fingers or tweezers to extract the old button battery. Pay attention to how the battery is positioned, noting the orientation of the positive (+) and negative (-) terminals. This positioning will guide you when installing the new battery. Avoid using metal objects to pry the battery out, as this may cause short-circuiting.

Installing the New Button Battery
Step 5: Choose the Right Replacement Battery
Before inserting the new battery, make sure it is the correct type and size. Check your device manual or the old battery for specifications. Using the wrong battery could cause damage to the device or lead to improper functioning. When purchasing a replacement, opt for batteries from reputable brands to ensure safety and quality.
Step 6: Insert the New Battery
Place the new button battery into the compartment, ensuring it is oriented correctly according to the positive and negative markings. Press down gently to secure it into place, making sure it sits snugly. If the compartment has springs or clips, ensure these components engage correctly so that the battery cannot move around. Double-check your orientation, as incorrectly installed batteries can damage the device or fail to function.
Step 7: Close the Battery Compartment
After successfully inserting the new battery, carefully close the battery compartment. If the compartment has screws, use the screwdriver to secure them, ensuring they are tight but not overtightened, which can cause damage. If the compartment uses clips, press them firmly until you hear a click, indicating they are properly seated.

Safety Tips for Handling Button Batteries
Prevention of Accidental Ingestion
One of the most important safety tips is to keep button batteries stored securely. Make sure any unused or discarded batteries are stored out of reach of children and pets. Many devices also come with child safety locks or designs that deter curious hands. Always check if your device has these features and utilize them accordingly to prevent accidents.
Dispose of Batteries Responsibly
When you remove old batteries, always dispose of them properly. Many recycling centers and retail locations offer battery recycling programs to prevent environmental contamination. Do not throw button batteries in the regular trash, as they can leak harmful chemicals into landfills. Take the time to find local recycling programs that accept batteries for safe disposal. This practice helps protect the environment and fosters responsible habits.
Watch for Signs of Damage
Be vigilant when handling batteries. Always inspect the battery for signs of damage, excessive wear, or leaking before installation. If you notice any corrosion, swelling, or other abnormalities, do not attempt to use or install the battery. Dispose of it safely as outlined previously, and replace it with a new, undamaged battery.
Troubleshooting Common Issues
The Device Doesn’t Power On
After replacing the button battery, your device may still fail to power on. Several factors can cause this issue. First, double-check that the battery is correctly installed by confirming the positive and negative orientations. Sometimes, batteries may not connect properly if the terminals inside the device are dirty or corroded. Using a soft cloth, wipe the battery contacts within the device to ensure a good connection.
Batteries Draining Quickly
If your button battery drains quickly, it may indicate that your device is malfunctioning or drawing excessive power. In some cases, leaving devices turned on for extended periods can cause the battery to deplete faster. Investigate the device’s operational status and turn it off when not in use. If quick battery drain persists, it might be time to consult a technician or consider replacing the device.
Multiple Batteries in a Device
If your device requires multiple button batteries, replace all of them at once. Mixing old and new batteries can lead to performance issues and can damage the device. When you notice one battery has drained, it’s wise to check others for their age and condition, replacing them all if needed.

Conclusion
Knowing how to safely remove and replace a button battery is an essential skill in today’s technology-driven world. By understanding the types of button batteries, gathering the right tools, and following proper safety protocols, you can confidently perform battery replacements in your devices.
Maintaining a focus on safety ensures you and those around you are protected from potential hazards associated with button batteries. With these skills in your toolkit, you will feel empowered to handle routine battery replacements effectively, ultimately helping your devices run smoothly and continue to serve their important functions. Remember, whenever you work with batteries, prioritize safety, dispose of them responsibly, and enjoy the convenience that your electronic devices provide.