A ‘No Signal’ message appearing on your ASUS monitor can be quite disconcerting, particularly if you’re gearing up for some important work or settling down for a gaming session. This message usually indicates that the monitor is not receiving input from the computer or other devices it’s connected to. However, tackling this issue systematically will often yield quick solutions. Here is how you can troubleshoot and resolve the ‘No Signal’ issue on your ASUS monitor.
Power and Connection Inspection
Ensure Monitor and Computer Power
Firstly, verify that both your monitor and computer are powered on. It may sound simple, but it’s common to overlook. Power surges or blackouts could have tripped either device off. Check that the power cables are securely connected and that the power outlet is functioning properly by testing it with another device.
Check Connection Cables
Assess the cables connecting your monitor to your computer. A loose or damaged cable might be the reason for the ‘No Signal’ message. Disconnect and reconnect all cables firmly, ensuring that HDMI, DisplayPort, VGA, or DVI connections are secure at both ends. Consider trying a different cable to determine if the issue lies with the cable itself.
Source Selection: Correct Input Settings
Select the Right Input Source on Monitor
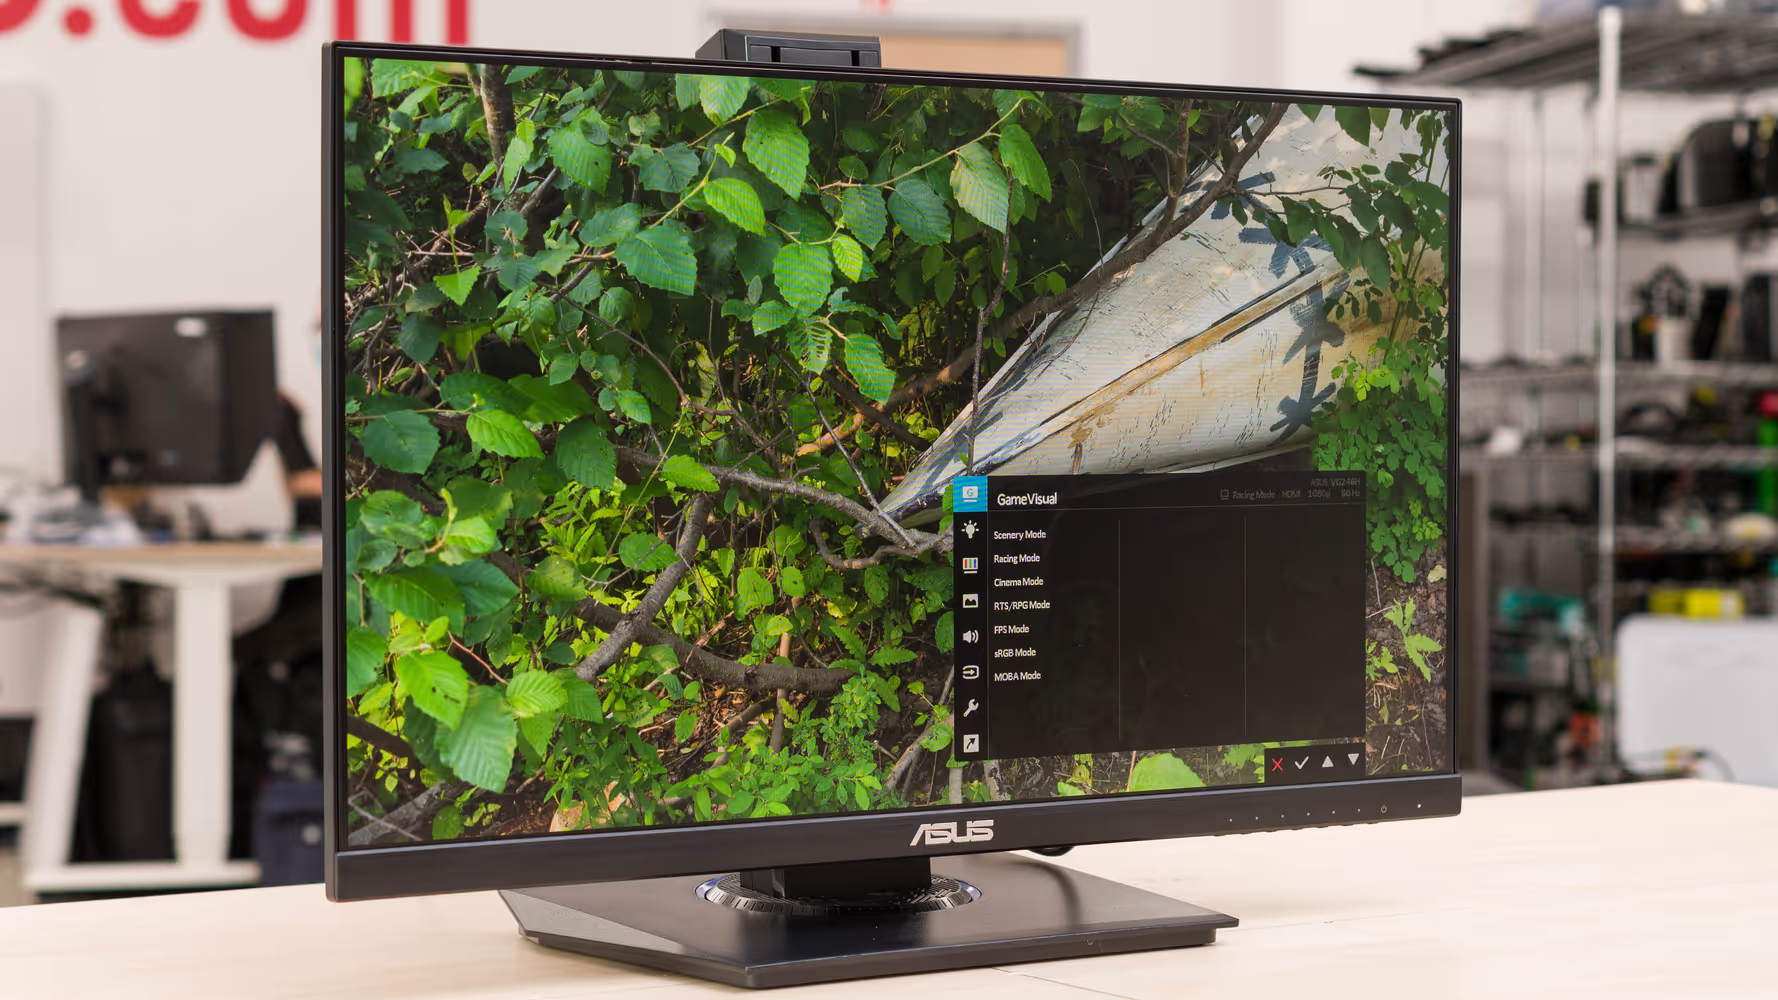
Monitors often have multiple input ports and can be set to the wrong source, leading to a ‘No Signal’ error. Use the buttons on your ASUS monitor to navigate to the menu, find the input source settings, and ensure the selected source matches the port used to connect your computer.
Change the Output Source on Computer
If your computer has multiple graphics ports, it might be outputting to a different source than the one you’re connected to. If possible, switch your computer’s output source through its settings or use its dedicated key sequence to cycle through available output options.
Operating System and Graphics Issues
Update or Reinstall Graphics Drivers
Outdated or corrupted graphics drivers can cause signal issues. Boot your computer into “Safe Mode” to test if the issue persists. If not, you likely need to update or reinstall your graphics drivers. Download the latest drivers from the graphics card manufacturer’s website or through your system’s device manager.
Check for Operating System Updates
An outdated or buggy operating system can lead to hardware recognition issues. Ensure that your OS is up to date with the latest patches and feature updates that could resolve underlying problems.
Hardware and Factory Reset
Test with Another Monitor or Device
Connect your computer to a different monitor or your monitor to a different computer or device. This will help you determine if the issue is with the monitor or the other hardware. If the ASUS monitor works with a different device, the problem may be with the original computer’s video output.
Factory Reset
If all else fails, perform a factory reset on your ASUS monitor. This can resolve any settings-related issues that might be causing the ‘No Signal’ error. Use the monitor’s on-screen menu to locate the reset option and follow the instructions provided. Be aware that this will erase any personal settings adjusted on the monitor.
Adjusting On-Screen Display (OSD)
Access the OSD for Signal Detection
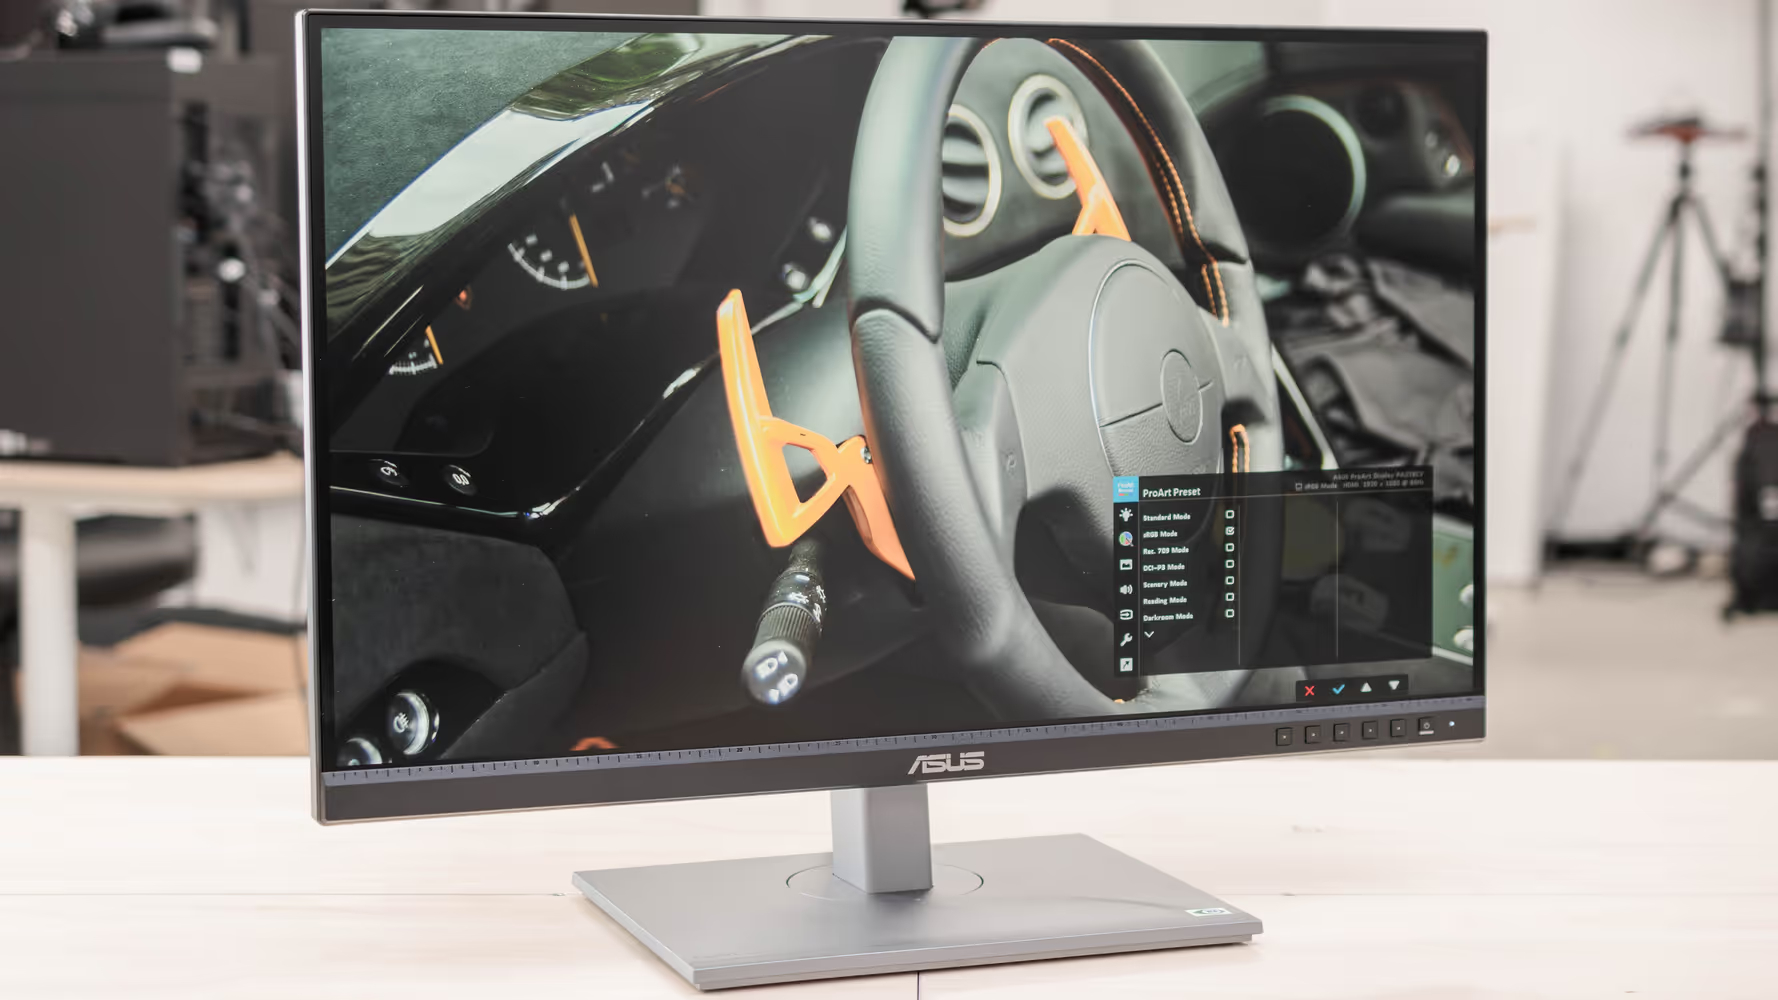
The On-Screen Display (OSD) is your gateway to internal monitor settings. Use the physical buttons on your monitor to access the OSD menu. Once in, look for the display settings and confirm if the monitor is set to auto-detect the signal source. If not, manually select the port to which your device is connected.
Reset the Monitor via OSD
Sometimes, customized settings can interfere with signal detection. To address this, use the OSD to reset your monitor to its default settings. Navigate through the OSD menu and locate the factory reset option. Initiate the reset and then try reconnecting your devices.
Graphics Card and Motherboard Evaluation
Inspect for Graphics Card Issues
A faulty graphics card can be the root cause of the ‘No Signal’ error. If your computer has integrated graphics alongside a dedicated graphics card, try to switch to the integrated option for testing purposes. Should the monitor display a signal, the issue might lie with the dedicated graphics card, which may need reseating or replacement.
Consider Motherboard Complications
In certain instances, the motherboard may have issues that prevent signal output, especially if it fails to recognize the graphics hardware. Listen for any beeps when starting up the computer as these can be diagnostic sounds indicating hardware problems. If suspected, professional inspection of the motherboard may be required.
Cable and Port Diagnostics
Use Alternative Ports on the Monitor and PC
If you have multiple ports available, attempt to connect your computer using a different port on both your monitor and your PC. This could mean switching from HDMI to DisplayPort, for example, to determine if the issue is port-specific. Faulty or dust-clogged ports can disrupt a stable connection.
Inspect Cable Integrity
Take a closer look at the entire length of your connection cables. Physical damage or severe bending could compromise the cable’s ability to transmit signals. Test the signal with a new or known-good cable to rule this out as a cause.
BIOS Settings and Hardware Checks
Checking BIOS/UEFI Settings
Advanced users comfortable with system BIOS can delve into BIOS/UEFI settings. On startup, access the BIOS and ensure you properly recognize and configure the output device. Certain updates or changes can cause the system to default to settings incompatible with your current setup.
Hardware Checks – RAM and Processor Seating
In some cases, ‘No Signal’ might stem from seating issues of internal components like RAM or the processor. If comfortable, power down your computer, open the case, and ensure that you properly seat these components within their respective slots. Loose or incorrectly installed hardware might prevent the system from successfully passing a signal to the monitor.
Experiencing a ‘No Signal’ error on your ASUS monitor doesn’t have to be a signal of defeat. By checking power connections, ensuring correct source selection, updating software, and considering advanced troubleshooting steps, you can often quickly solve the issue. Keep calm and methodically go through these checks and changes, and more often than not, you’ll be back up and running shortly. If the problem persists, contacting ASUS customer support can provide further guidance and assistance.