How to install a smart thermostat can be a great way to improve energy efficiency and gain better control over your home’s heating and cooling systems. These devices allow you to program temperatures, adjust settings remotely, and even learn your routines for improved comfort. If you are ready to take on the installation yourself, this comprehensive DIY tutorial will guide you through each step of the process. The aim is to empower you with the knowledge needed to make this upgrade efficiently and effectively.
Understanding the Basics of Smart Thermostats
What is a Smart Thermostat?
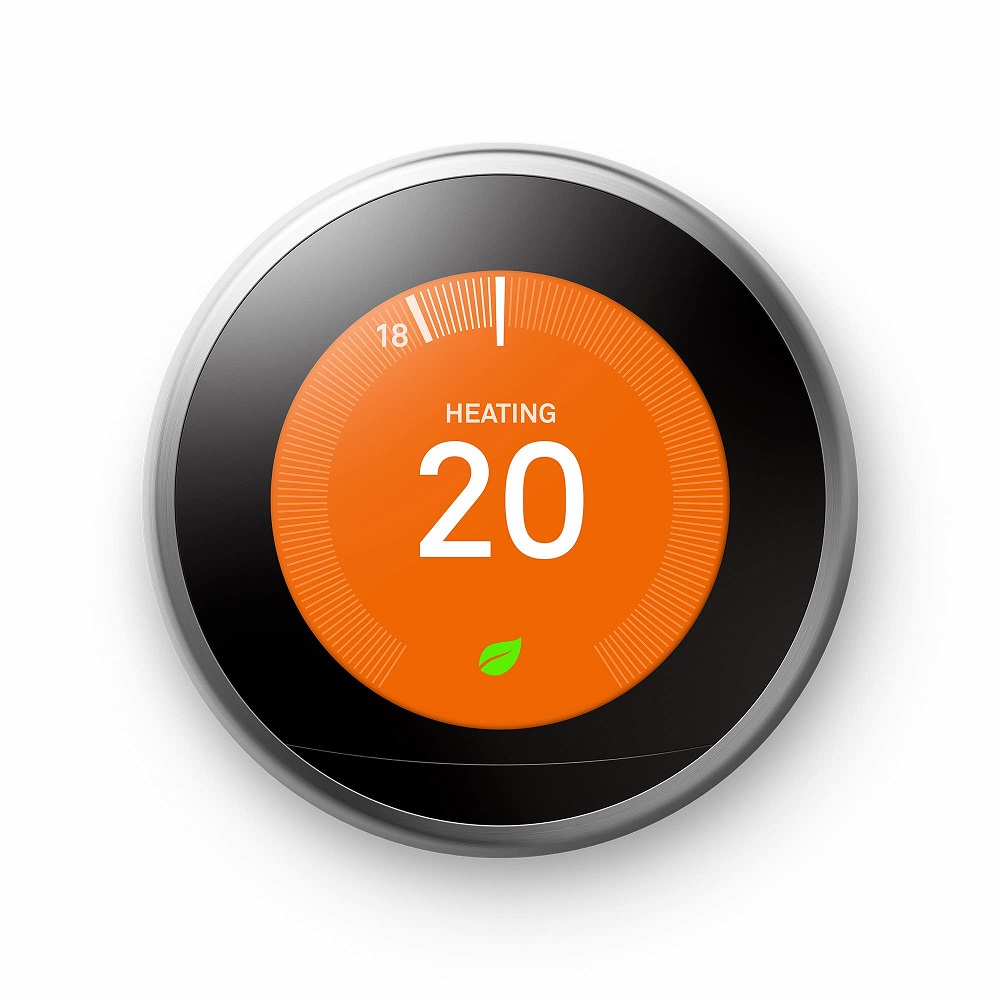
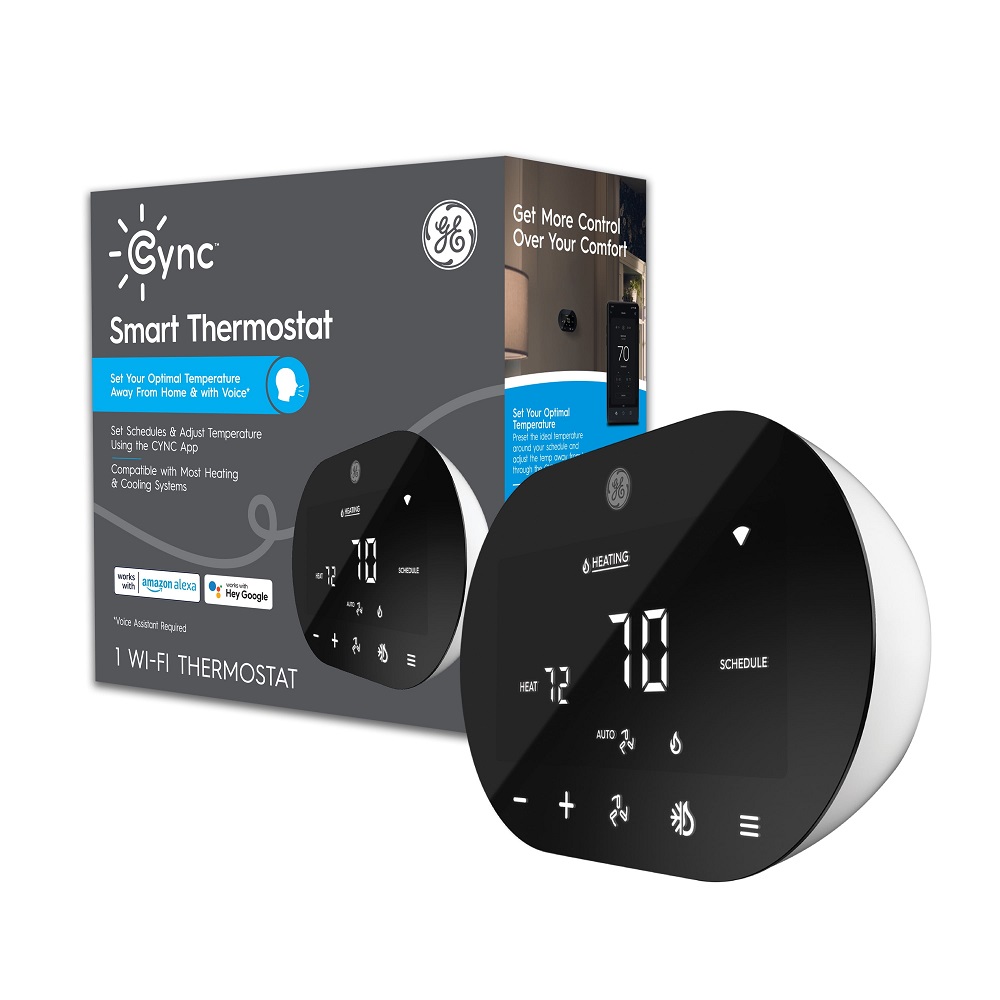
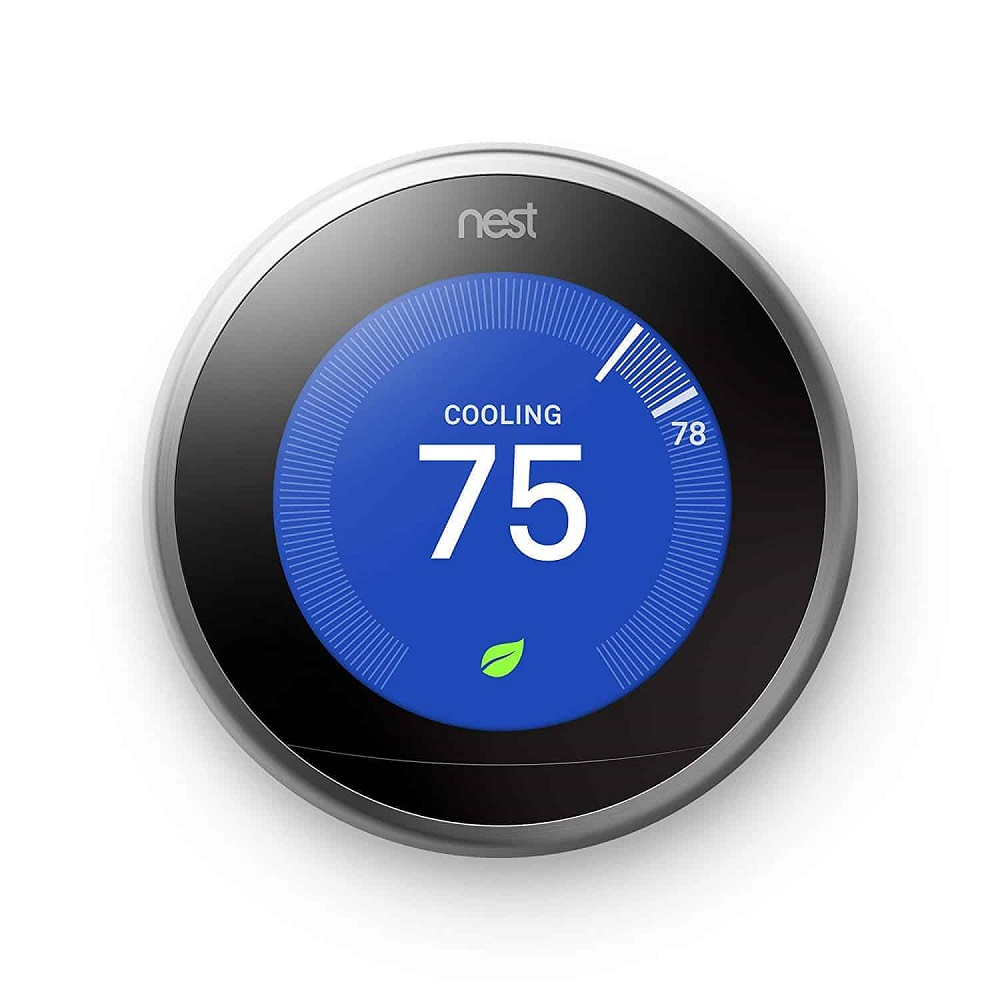
A smart thermostat is an advanced device that controls your heating and cooling systems intelligently. Unlike traditional thermostats, which only allow basic temperature adjustments, smart thermostats connect to Wi-Fi networks. This feature enables users to manage them remotely via smartphone apps. Many models come equipped with advanced features, such as energy usage reports, personalized scheduling, alerts for maintenance needs, and integration with home automation systems. These features allow users to control their heating and cooling systems with greater ease and flexibility.
Benefits of Installing a Smart Thermostat
Install a smart thermostat offers several advantages beyond simple temperature regulation. For starters, by optimizing your HVAC system, you can significantly reduce energy costs. Smart thermostats have the ability to learn your habits and preferences over time, adjusting the temperature automatically based on your routines. For instance, if you leave for work at the same time every day, the thermostat can lower the temperature while you’re away and warm up your space before you return. Many models come with energy-saving features such as geofencing, which uses your phone’s location to determine if you’re home. Overall, a smart thermostat not only enhances comfort but also helps you save money on your energy bills while reducing your carbon footprint.

Preparing for Installation
Choosing the Right Thermostat
Before installation, it’s essential to choose a thermostat that is compatible with your HVAC system. Most smart thermostats work well with common heating and cooling systems, such as central air conditioning and heating, heat pumps, and even some types of radiant heating. However, there are exceptions. Verify that your chosen model meets the specifications required for your specific HVAC setup. Many manufacturers provide compatibility guides online, and this preliminary research can save you a lot of headaches down the line.
Tools and Materials Needed
Gathering the necessary tools and materials will make the installation process smoother. Here’s a quick list of what you will need:
- A screwdriver (both flat and Phillips head)
- A drill (if you need to create new holes for wall mounting)
- A level to ensure your thermostat is mounted straight
- Wire labels (optional but highly recommended for easy identification)
- A smartphone or tablet with the thermostat app installed
- The new smart thermostat and its mounting hardware
Having these tools on hand before you begin will allow you to work efficiently and confidently. Be sure to review all the instructions and requirements included with your smart thermostat to ensure you are well-prepared.
Turning Off Power and Removing the Old Thermostat
Safety First
Safety should always be your top priority when working with electrical devices. Before starting any electrical work, it’s essential to turn off the power to your HVAC system at the circuit breaker. This precaution not only prevents electrical shock but also protects your equipment from damage that can arise during the installation process. If you’re unsure which breaker to turn off, it’s advisable to test the power to electrical wires with a multimeter.
Removing the Old Thermostat
Once you’ve ensured that the power is off, it’s time to remove the old thermostat. Carefully take off the faceplate to expose the wiring. Most models are easy to detach—just lift or slide the faceplate off. Use a screwdriver to unscrew any screws holding the thermostat in place. Once you can see the wires, it’s wise to label each wire according to its connection point. This step will make it easier to connect the new thermostat correctly. You can use tape or specially designed wire labels to mark them clearly. As you remove the old thermostat, be cautious not to disturb the wires too much, as you want them to remain intact for the new installation.

Wiring the Smart Thermostat
Identifying Wires
After removing your old thermostat, observe the several colored wires connected to the wall plate. Common color codes include:
- Red (R or Rc): This wire is used for the power supply.
- White (W): This wire connects to the heating system.
- Yellow (Y): This wire operates the air conditioning.
- Green (G): This wire controls the fan.
- Blue (C): This wire serves as the common wire, which is essential for many smart thermostat models.
It’s important to note that wire colors might differ based on the HVAC system’s installation. Refer to your HVAC system’s documentation or consult a professional if unsure about any connections. This step is crucial, as incorrect wiring can lead to malfunction or even damage to your new thermostat.
Connecting the Wires
After identifying and labeling the wires, it’s time to connect them to your new thermostat. Most smart thermostats come with specific instructions about which wire connects to which terminal. Take your time to follow these instructions carefully. This often involves pushing the wire into a small connector on the thermostat until it is secured. If your thermostat requires a C wire for power and you don’t have one, consider using a C wire adapter. Many new smart thermostat models also come with detailed wiring diagrams that can simplify this process. Make sure that all wire connections are secure, as loose connections can lead to operational failure.
Mounting the Thermostat and Powering It On
Installing the New Wall Plate
Once the wiring is complete, the next step is to mount the new thermostat. Begin by attaching the new wall plate to the wall using the provided screws. This process may require drilling into the wall, so ensure that you use the correct drill bits. Ensure the new wall plate is level—using a level will help you achieve a straight installation. A crooked thermostat not only looks unprofessional but can also affect its performance. If needed, use wall anchors for added stability, especially if you’re mounting the thermostat on drywall.
Powering On the Thermostat
With the wall plate securely fastened, carefully place your smart thermostat onto the mounting plate. Ensure that the wires fit neatly behind the device before securing it. Once properly positioned, turn the power back on at the circuit breaker. Most smart thermostats will wake up automatically upon receiving power. Follow any on-screen setup prompts to connect the device to your Wi-Fi network, making it ready for configuration through the mobile app. This step is essential to ensure all features and functionalities will work properly.
Completing the Setup and Configuring Settings
Downloading the App
After powering on, download the corresponding app for your smart thermostat from the Apple App Store or Google Play Store on your smartphone or tablet. The app is crucial for controlling your thermostat remotely and customizing its features based on your preferences. Create an account or log in, following the app’s prompts to link your thermostat to your home network. Many apps support voice control through platforms such as Amazon Alexa or Google Assistant, adding another layer of functionality.
Configuring Your Settings
Once your thermostat is connected, follow the app’s instructions to configure your settings. You may want to set up a schedule based on your regular routines. For example, adjust temperature settings to lower when you are away and increase before you arrive home. It’s also a good idea to explore additional features, such as eco mode, to ensure maximum energy savings. Many smart thermostats offer insights into energy usage, allowing you to monitor how often you adjust the settings or how much energy tends to be consumed in your home. Remember to test the thermostat by adjusting the temperature and observing its response to ensure everything is functioning as intended. Allow some time for it to learn your habits, and you will soon enjoy optimized comfort.

Enjoy Your New Smart Thermostat
Install a smart thermostat is a practical DIY project that can lead to improved energy efficiency and increased comfort in your home. By following the steps outlined in this tutorial, you’re now equipped with the knowledge needed to handle the installation process confidently and effectively. Embracing smart technology in your home is not just about convenience—it’s also about making informed choices that enhance your quality of life.
Embracing Smart Technology
As you embrace this new technology, be sure to continually explore other potential smart home upgrades. Whether it’s smart lights that adjust based on time of day or home security systems that can be controlled remotely, there are countless options to enhance convenience, safety, and efficiency. Your journey doesn’t have to stop here; many devices can connect directly to your thermostat, allowing for a comprehensive smart home ecosystem. Celebrating these advancements ultimately leads to a smarter, more sustainable living environment. As you enjoy the comfort and savings from your newly installed smart thermostat, take pride in having improved not just your home, but your lifestyle as well.