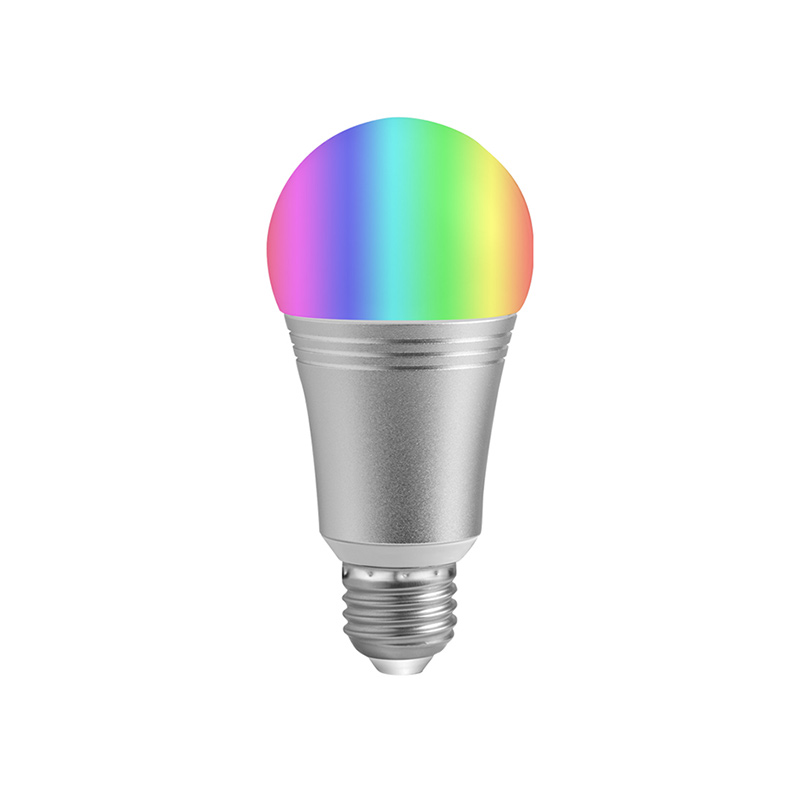
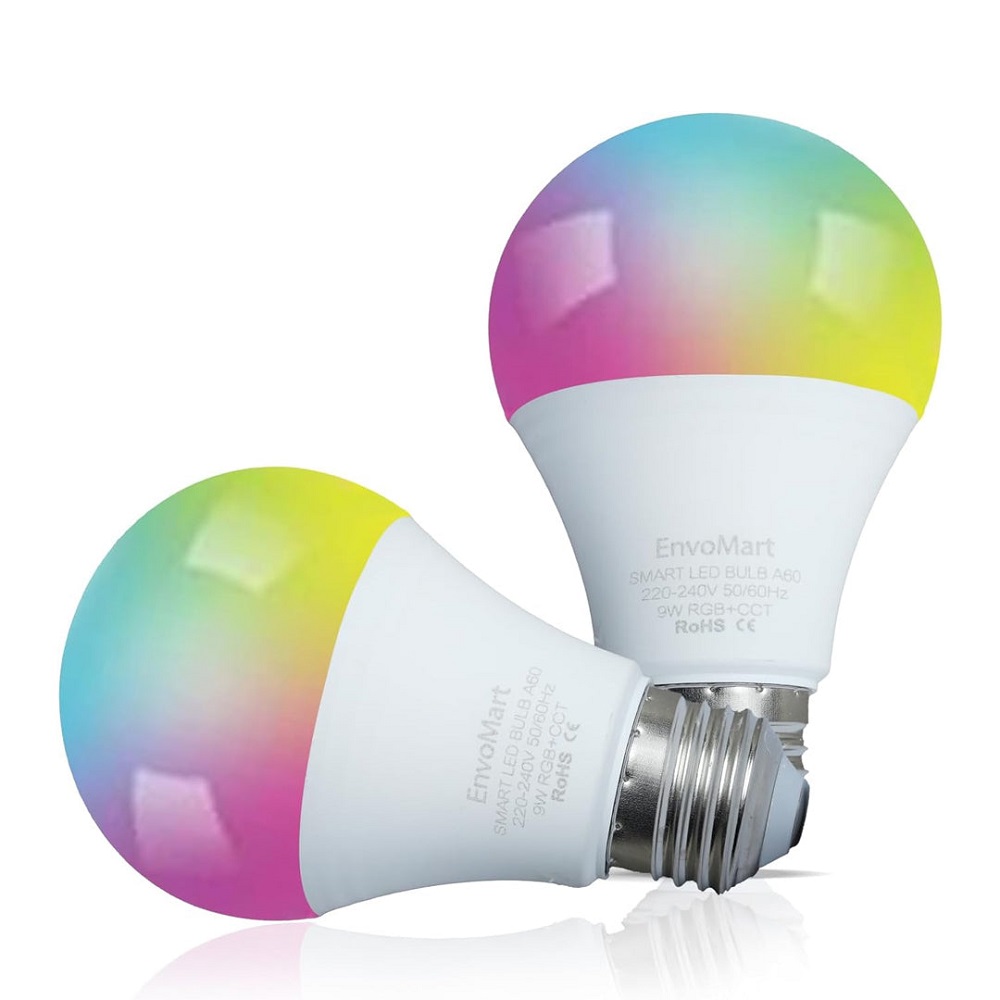
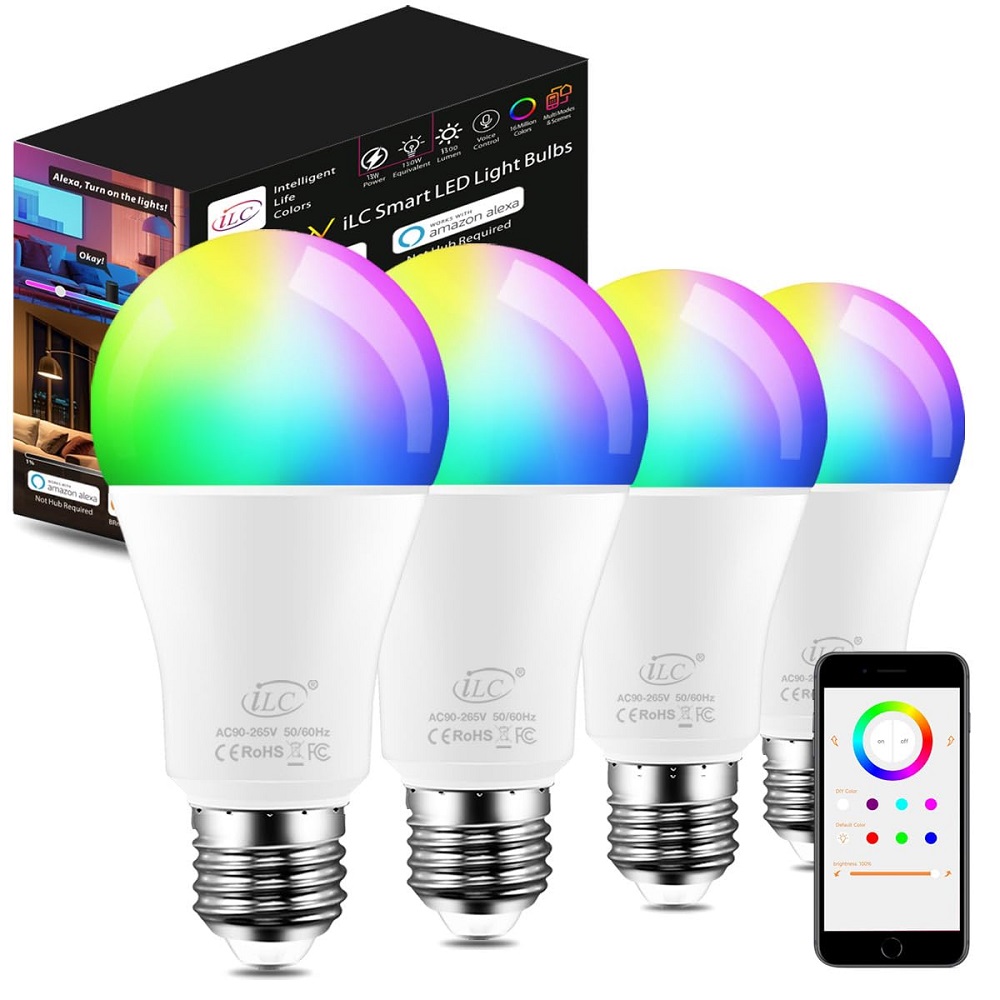
Smart home technology has transformed the way we interact with our living spaces, and smart light bulbs are at the forefront of this revolution. With the ability to control lighting using voice commands, smart bulbs offer convenience, energy efficiency, and ambiance customization. If you want to enhance your home environment with smart lighting, connecting your smart light bulbs to Amazon Alexa is a fantastic place to start. This comprehensive guide will walk you through the steps to successfully connect smart light bulbs with Alexa, allowing you to manage your lighting effortlessly.
Choosing the Right Smart Light Bulbs
Understand Your Lighting Needs
Before you begin connecting smart light bulbs with Alexa, determine what you want to accomplish with your smart lighting. Do you want to control lights in specific rooms, set the mood for entertainment, or automate your lighting routines? By clearly defining your needs, you’ll be better prepared to choose the right smart bulbs that fit your requirements.
Consider factors like brightness, color temperature, and whether you want RGB color-changing options. Some smart bulbs offer features like dimming, scheduling, and energy monitoring, allowing for even greater customization in how you light your spaces.
Research Compatibility with Alexa
Not all smart bulbs are designed to work seamlessly with Alexa, so take the time to research compatible options. Look for smart bulbs from reputable brands known for their Alexa integration, such as Philips Hue, LIFX, Wyze, and TP-Link. These brands not only offer excellent performance but also come with user-friendly apps to make setup easier.
Check the specifications for each bulb you’re interested in to confirm that it can be controlled with Alexa. Most manufacturers provide detailed information about Alexa compatibility on their websites or product packaging.

Setting Up the Smart Light Bulbs
Installation Steps
Once you have chosen your smart light bulbs, it’s time to install them. Begin by replacing your existing bulbs with the new smart bulbs. This process is straightforward—simply screw the bulbs into their respective light fixtures, ensuring they are securely in place.
Next, ensure the lights are turned on. Many smart bulbs require that the switch be in the “on” position for the initial setup, so confirm that the bulbs receive power. This setup is critical because you won’t be able to connect to them if they are switched off.
Download the Manufacturer’s App
To control your smart light bulbs, you need to download the manufacturer’s app associated with your chosen brand. Search for the app in the Google Play Store or Apple App Store and install it on your smartphone or tablet.
After installation, open the app and create an account if prompted. This account will facilitate the management of your smart devices, making it easier to control your lighting preferences directly from your phone.
Connecting Smart Light Bulbs to Wi-Fi
Connect to Your Home Wi-Fi
Before linking your smart bulbs with Alexa, you must connect them to your home Wi-Fi network. Open the app you downloaded earlier, and follow the setup instructions for your specific bulb model. Most apps will guide you through selecting your Wi-Fi network and entering your Wi-Fi password.
Ensure your smartphone or tablet is connected to the same Wi-Fi network you intend to use for your smart bulbs. This step is crucial for a successful connection. Additionally, keep in mind the distance between your smart bulbs and your Wi-Fi router; this can affect connectivity.
Confirming the Connection
After entering your network details, the app will begin searching for the smart bulbs. Once detected, you may need to name each bulb, especially if you have multiple units. Choose descriptive names that reflect the location or function of each light, such as “Living Room Lamp” or “Bedroom Ceiling Light”. Naming helps later interactions with Alexa be more intuitive.
Once the setup is complete, the app should confirm that your bulbs are connected to Wi-Fi. You should now be able to control your bulbs from the app, including turning them on and off, changing colors, and adjusting brightness.

Linking Smart Light Bulbs to Alexa
Open the Alexa App
Now that your smart light bulbs are set up and connected to Wi-Fi, it’s time to link them to Alexa. Start by opening the Alexa app on your smartphone. If you don’t have the app yet, download it from the App Store or Google Play Store and log in with your Amazon account.
Once the app is open, navigate to the menu by tapping the three horizontal lines in the upper-left corner. From the menu, select “Skills & Games.” This section allows you to manage various smart home integrations and services available through Alexa.
Enable the Specific Skill
In the “Skills & Games” section, tap on the search bar and type in the name of the manufacturer’s brand. For example, if you are using Philips Hue bulbs, search for “Philips Hue”. Select the skill related to the brand of your smart light bulbs, then tap on the “Enable” button.
Linking the skill allows Alexa to communicate with your smart bulbs. You will likely need to log in with the same account you created for the bulb’s respective app. This process authorizes Alexa to control your lights.
Discovering Devices in the Alexa App
Device Discovery Process
After enabling the relevant skill, you need to discover your smart light bulbs within the Alexa app. Go back to the main screen of the app. Tap on “Devices” at the bottom menu, then select the “+” icon in the upper right corner. Choose “Add Device” from the list of options.
Select the type of device you are adding, which in this case is “Light.” Follow the prompts, and Alexa will commence the discovery process. She will search for any smart lighting devices connected to the linked account, taking just a few moments.
Confirming Device Detection
After Alexa completes the discovery, she should list your smart light bulbs. If your bulbs appear, they are ready to use with Alexa commands. If they do not appear, ensure that the bulbs are connected to Wi-Fi and that you completed the previous steps correctly. You can also try tapping “Discover Devices” in the app to initiate another search.
Once your bulbs appear, you can organize them into groups for easier control later. For example, you can group all lights in a specific room, allowing for simple commands such as, “Alexa, turn off the bedroom lights”.

Using Voice Commands with Alexa
Basic Commands
Connecting your smart light bulbs to Alexa opens up a world of convenience. You can control your lighting with simple voice commands, eliminating the need to get up to flip switches. Basic commands include “Alexa, turn on the [Bulb Name],” and “Alexa, turn off the [Bulb Name].” You can even ask her to adjust lighting brightness or color by saying, “Alexa, set the [Bulb Name] to 50 percent” or “Alexa, change the [Bulb Name] to blue.”
Experiment with various commands to explore the full range of possibilities your lighting system offers. Using voice commands is intuitive and makes managing your environment simple.
Creating Routines
Beyond basic commands, Alexa allows you to create routines for a more customized smart home experience. A routine is a series of actions triggered by a single command. For instance, you can set up a morning routine that turns on your smart lights at a specific time, gradually increasing brightness to mimic a sunrise.
To set up a routine, open the Alexa app, select “More” from the bottom menu, then choose “Routines.” From this menu, tap the “+” icon to create a new routine, selecting triggers (like time) and actions (like turning on lights). This feature enhances convenience, making your mornings smoother.
Troubleshooting Common Issues
Addressing Connection Issues
Even with careful setup, you might encounter occasional issues connecting your smart light bulbs with Alexa. If you experience connectivity problems, begin by checking the power status of your bulbs. Ensure that they are firmly in their fixtures and powered up.
You can also restart your Wi-Fi router and refresh your devices to establish a new connection. Additionally, check whether the manufacturer’s app is functioning correctly. If the app fails to find the bulbs, ensure that they are still connected to Wi-Fi and not on a different network.
Contacting Support
If you still face issues after troubleshooting, consider reaching out to customer support for your smart bulb brand. Most manufacturers have dedicated customer service teams available through phone or chat to assist with setup problems. They can guide you through advanced troubleshooting steps to ensure your bulbs work seamlessly with Alexa.
In conclusion, connecting smart light bulbs with Alexa enhances the convenience and efficiency of your home lighting. With the ability to control your lights using simple voice commands, you can create a seamless living environment tailored to your preferences. By following these straightforward steps, you will transform your home into a smart space where managing lighting becomes an effortless delight. Embrace the future of home automation, and enjoy the benefits that smart lighting can bring to your daily life.