Choosing the Right DVD Player
When you’re ready to enhance your home entertainment system with a DVD player, selecting the right one is crucial. How to hook up dvd player to tv? Here’s how to pick a DVD player that meets your needs:
- Compatibility: Make sure the DVD player supports the formats you plan to watch. Most players handle DVD and CD playback, but if you want to play Blu-ray discs or stream content, look for those features.
- Resolution: Today’s players offer various resolution outputs. For a crisp picture, choose a DVD player with at least 1080p resolution output, especially if you have an HDTV.
- Upscaling: Some DVD players have upscaling capabilities, which means they can improve the picture quality of standard DVDs on high-definition TVs.
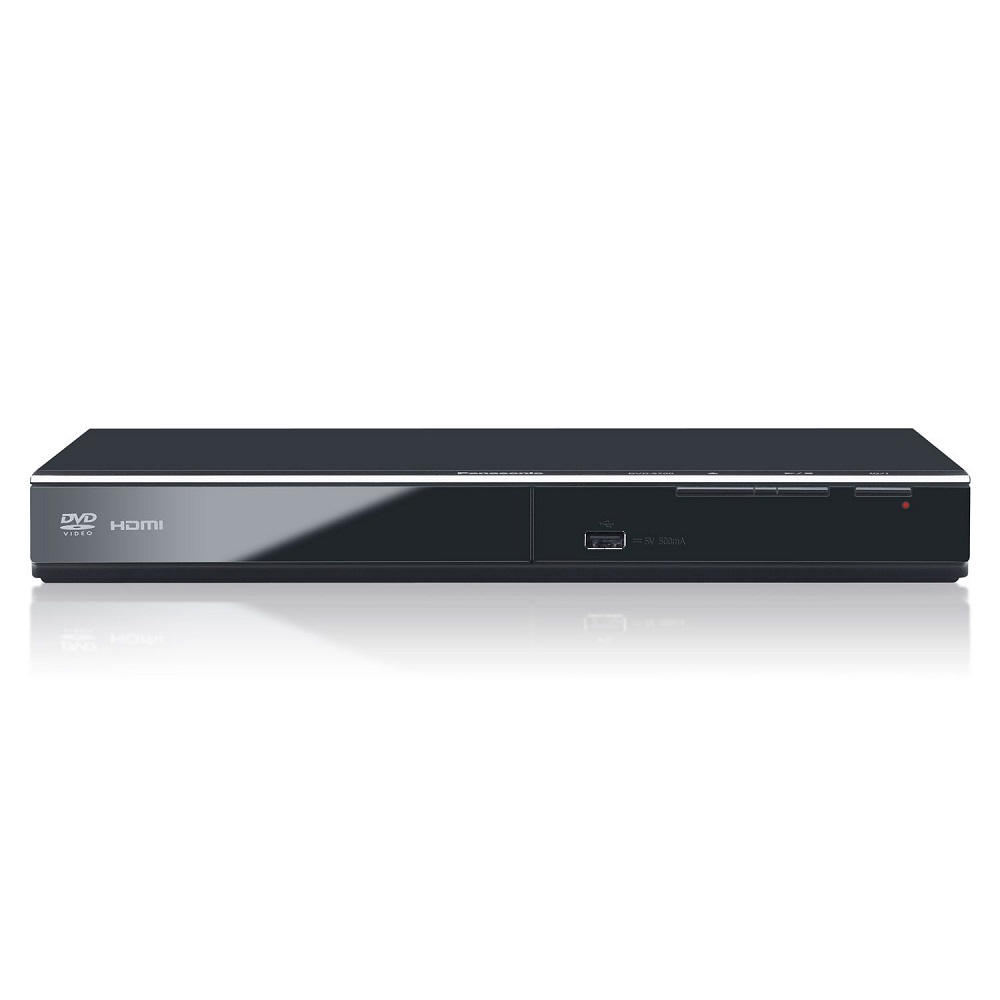
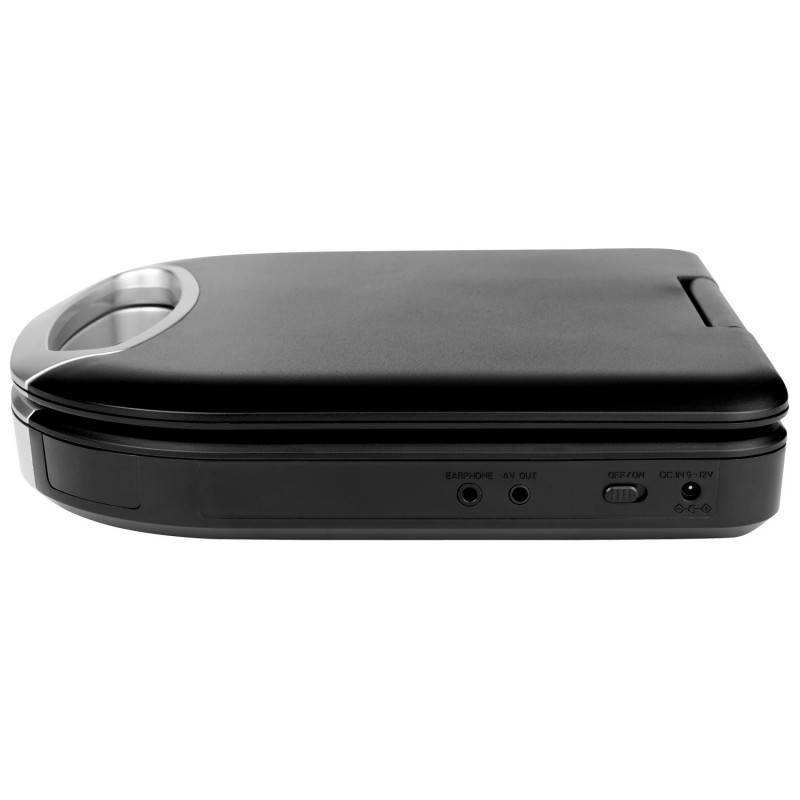
- Connectivity Options: Consider how to hook up the DVD player to your TV. Check for HDMI ports, as well as other connections like Component or RCA if needed.
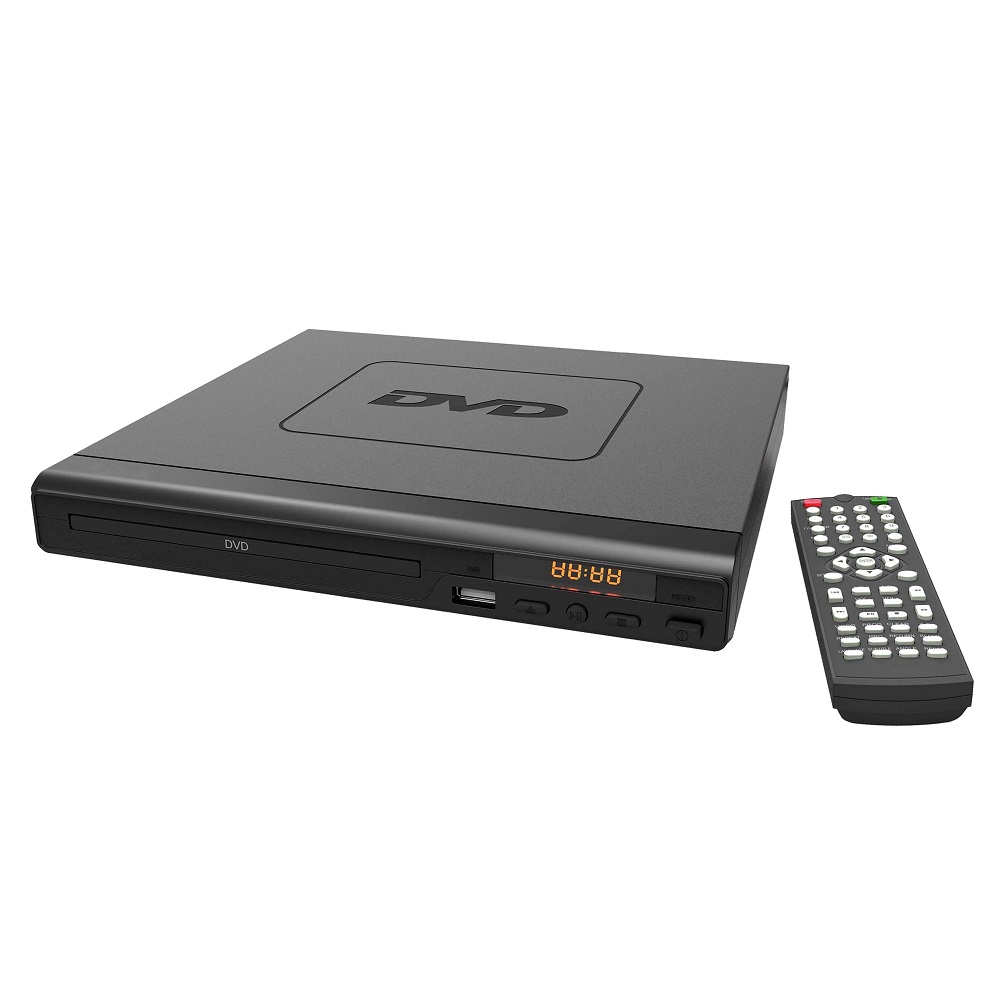
- Additional Features: Look for players with built-in Wi-Fi for streaming, USB ports for playing media files, and sound enhancement technologies for a better audio experience.
- Size and Design: Think about where you’ll place the DVD player. Make sure it fits well with your TV setup and matches the aesthetic of your room.
- Brand and Price: Research brands for reliability and customer service. Set a budget that reflects the player’s features and your intended use.
Choosing the right DVD player is the first step to setting up your home entertainment. Keep these tips in mind, and you’re on your way to a better viewing experience.
Assessing Your TV’s Compatibility
Before you learn how to hook up a DVD player to your TV, it’s vital to check if they are compatible. Below are steps to assess your TV’s compatibility with a new DVD player:
- Check the TV’s Input Ports: Look at the back or side of your TV. Identify the types of input ports available. Common ones include HDMI, Component, RCA, and S-Video.
- Review Supported Resolutions: Ensure that your TV supports the resolution output of your DVD player. Most modern TVs support 1080p or higher.
- Inspect the TV’s Aspect Ratio: The aspect ratio should match or be adaptable. This ensures that DVDs display correctly without stretching or black bars.
- Examine Smart Features: If your TV has smart features, it might have a built-in DVD player or streaming capabilities. You may not need an external player in this case.
A successful connection between your TV and DVD player starts with compatibility. Taking a few minutes to assess this can save time and help avoid issues later on.
Different Types of Connections
To set up your DVD player with your TV, knowing the different types of connections is essential. Each connection type has its own features and compatibility with TVs. Here are the common cable types you’ll encounter:
HDMI Cables
HDMI is the most widespread and recommended method for connecting a DVD player to a TV. It supports high-definition video and audio, making it ideal for HDTVs. One cable carries both video and audio signals, which simplifies setup and reduces clutter.
Component Cables
Component cables split the video signal into three separate channels: red, green, and blue, offering better quality than composite cables. Remember to match each plug to its corresponding color-coded input for proper setup.
RCA Cables
RCA cables are recognizable by their red, white, and yellow plugs. They are a standard definition option suitable for older TVs without HDMI support. The yellow cable transmits video, while red and white are for stereo audio.
S-Video Cables
An S-Video cable offers a sharper image than RCA cables but is not as common anymore. If you have an older TV and DVD player, this might be an alternative to consider if HDMI is not an option.
When choosing how to hook up your DVD player to your TV, consider your devices’ compatibility and the video quality you desire. Go for HDMI if you want a simple, high-quality connection. However, for older equipment, you may need to opt for Component, RCA, or S-Video cables.
Step-by-Step Guide to Connecting via HDMI
If you’ve chosen an HDMI cable for connecting your DVD player to your TV, follow these simple steps:
- Power Off Devices: Ensure both your TV and DVD player are turned off before starting.
- Locate HDMI Ports: Find the HDMI ports on your TV and DVD player. These are often labeled as ‘HDMI’.
- Connect HDMI Cable: Take the HDMI cable and plug one end into your DVD player’s HDMI port. Connect the other end to the TV’s HDMI port.
- Power On Devices: Switch on your TV and then turn on the DVD player. This ensures your TV recognizes the new connection.
- Select Input Source: Use your TV remote to select the correct HDMI input. This is the channel that your DVD player is connected to. Check your TV’s manual if you’re unsure how to do this.
- Check for Picture & Sound: Look for the DVD player’s menu on your TV screen. You should also hear sound if everything is properly connected.
- Adjust Settings: Explore your TV’s settings to optimize picture and sound quality for DVD playback.
Using HDMI simplifies the connection process and gives you the best audio and video quality. Remember, the aim is to how to hook up your DVD player to your TV with minimal hassle while maximizing your entertainment experience.
Troubleshooting Common Connection Issues
When connecting your DVD player to your TV, you might encounter some hiccups. Here are solutions to common issues:
- Picture But No Sound: Check the volume on both devices. Ensure the mute function is not enabled. Verify that the audio cables are securely connected if using Component or RCA.
- No Picture: Ensure the TV is on the correct input. Check the connections of the video cables. Inspect if the HDMI cable is damaged.
- Poor Image Quality: If the picture is grainy or unstable, confirm that your TV’s resolution settings match your DVD player’s output. Also, try a different cable if possible.
- No Signal Message: This could mean the TV is not recognizing the connected device. Double-check the connection and make sure the DVD player is powered on.
- DVD Player Won’t Play: Ensure the disc is clean and inserted correctly. Check if the player supports the disc’s format.
- Remote Issues: Replace the batteries in the remote. Point it directly at the sensor on both the TV and DVD player. Consider interference from other devices.
- Audio/Video Sync Issues: Occasionally, the picture and sound may not align. Pause or restart the movie. If persistent, check for firmware updates on your DVD player.
Encountering problems when trying to hook up your DVD player to your TV can be frustrating. Follow these tips to solve common connection issues quickly.
Testing and Verifying a Successful Connection
Once you have followed the steps for how to hook up a DVD player to your TV via HDMI, Component, RCA, or S-Video cables, the next crucial phase is testing and ensuring a successful connection. A few simple steps can verify this:
- Turn on Your TV and DVD Player: Power up both devices to start the testing process.
- Play a DVD: Insert a DVD into the player. This helps you check both audio and video.
- Check the Audio: Listen for clear sound. If there’s no audio, double-check the cable connections.
- Evaluate the Video Quality: Look for a clear picture. Problems might mean you need to check the cable connection or settings.
- Switch Between Inputs if Necessary: If you can’t see or hear the DVD, switch to other inputs on your TV remote to find the right one.
- Review TV and DVD Player Settings: Make sure the settings on both your TV and DVD player match and are optimal for usage.
- Consult the Manual: If you run into issues, the manuals for your devices can offer specific troubleshooting tips.
Verifying a successful connection assures that you can enjoy your DVDs without any technical disruptions. Following these steps ensures your DVD player and TV are perfectly synced.
Enhancements and Accessories for Optimal Viewing Experience
After you know how to hook up a DVD player to your TV, consider some enhancements and accessories. These can improve your viewing experience. Here are some recommended additions:
- High-Quality HDMI Cables: Invest in premium HDMI cables for a better signal transmission. Better cables can mean clearer pictures and sound.
- Sound System: Attach a soundbar or surround sound system for cinema-like audio. This can greatly enrich your viewing pleasure.
- Universal Remote Control: A universal remote can simplify your control over both the DVD player and TV. One device does it all.
- Cable Management Solutions: Use cable ties or conduits to organize and hide cables. A tidy space enhances the overall experience.
- TV Wall Mounts: Elevate your TV with a wall mount. This can save space and offer a more immersive viewing angle.
- Extended Warranty: Consider purchasing an extended warranty for your DVD player. This can offer peace of mind against malfunctions.
- Cleaning Kits: Regularly clean your DVD player and discs for best performance. A cleaning kit can help maintain the quality of playback.
Adding these accessories and making enhancements will take your home entertainment system to the next level. For the best experience, pick quality products that match your needs.