Robot vacuums are fantastic for keeping your home clean with minimal effort. However, like any device, they can encounter issues that require robot vacuum repair. Instead of discarding a malfunctioning unit, you can often fix it yourself. This guide will provide step-by-step instructions for addressing common problems faced by robot vacuums, empowering you to troubleshoot and repair your device like a pro.
Understanding Your Robot Vacuum
Familiarize Yourself with Components
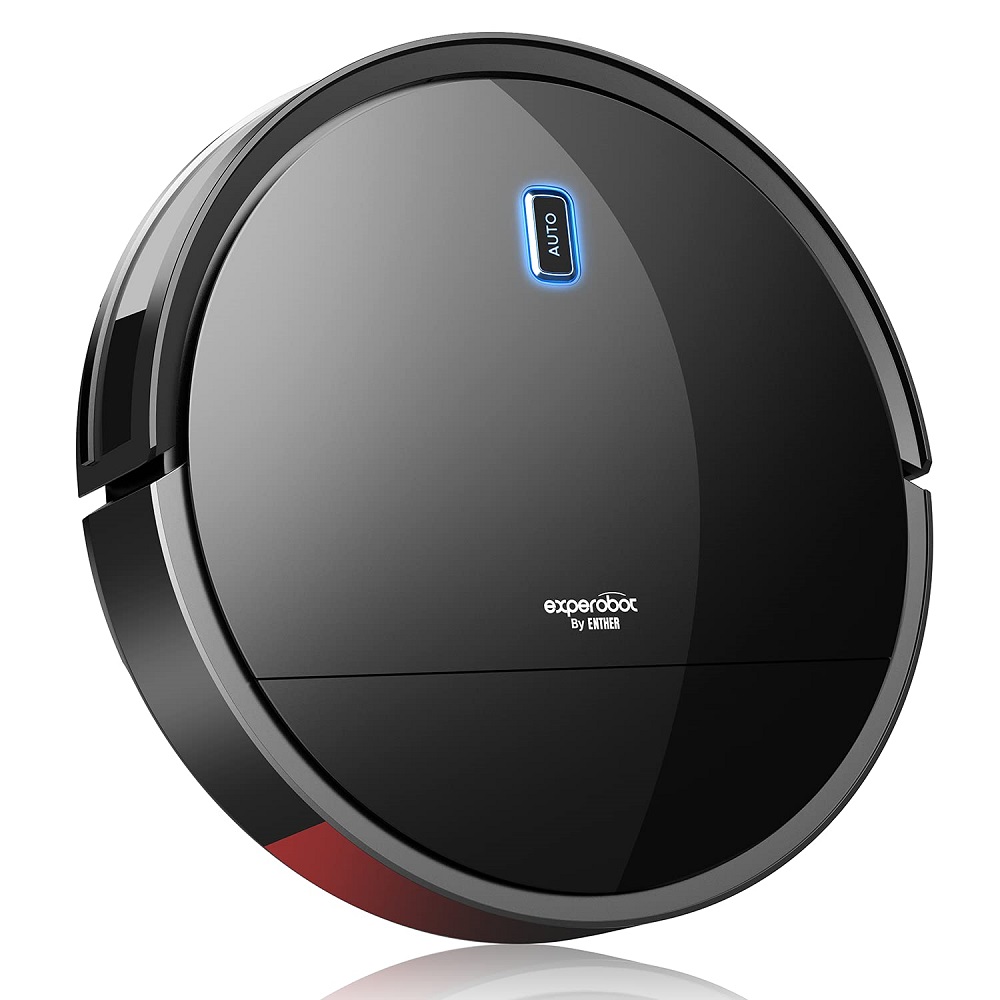
Before diving into repairs, it’s important to understand the main components of your robot vacuum. Most models have several key parts: the main body, brushes, wheels, sensors, and dustbin. Each component plays a crucial role in how the vacuum operates. Knowing the function of each part will make troubleshooting more straightforward.
For example, brushes help agitate dirt and debris, while sensors help the robot navigate and avoid obstacles. If a particular function is failing, you can often pinpoint which component might be causing the issue. Take the time to familiarize yourself with your model’s user manual; this resource can offer valuable insights into the functionalities and maintenance procedures.
Collecting the Right Tools
Before attempting any repairs, gather the necessary tools. Common tools for robot vacuum repairs include screwdrivers (usually Phillips and flathead), pliers, scissors, and a soft cloth for cleaning. Additionally, you might need replacement parts, which can often be found online or in stores specializing in appliance parts.
Having everything organized and readily accessible will streamline the repair process and prevent frustration. A clean workspace also helps, as clutter can complicate the repair and risk misplacing small components.
Identifying Common Problems
No Power Issues
One of the most common problems encountered with robot vacuums is the device not turning on. This issue can stem from several factors, including a depleted battery, faulty charging dock, or internal circuits. Start by checking if the vacuum is charged; if not, plug it in and allow it some time to recharge.
If charging isn’t the issue, inspect the charging dock for any dirt, debris, or damage. Make sure the contacts on both the vacuum and dock are clean and properly aligned. Sometimes, a simple cleaning can resolve the problem. If the vacuum still doesn’t power on after these checks, it may be time to look into more detailed internal issues.
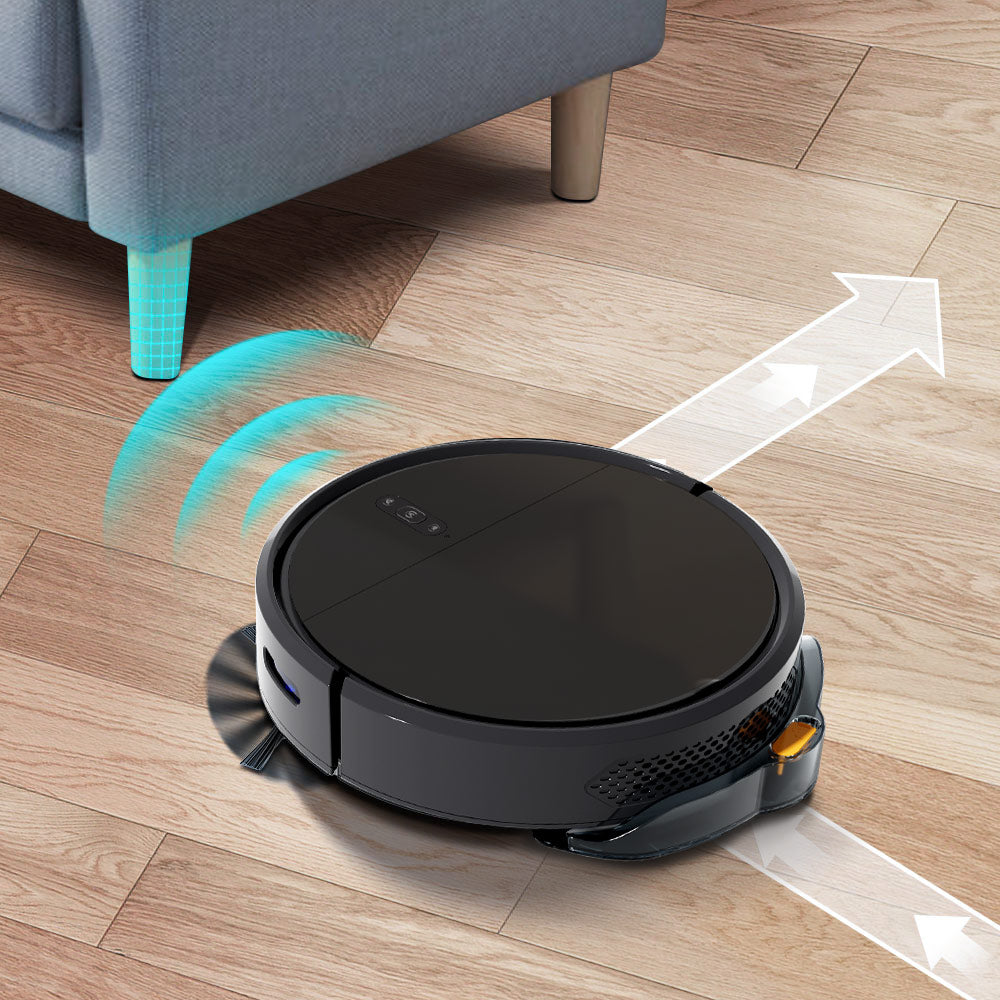
If your robot vacuum struggles with navigation, it could be due to blocked sensors or worn-out wheels. Robot vacuums rely on sensors to map out their environment and avoid obstacles. Dirt or obstructions can block these sensors, leading to confusion or erratic movement.
Examine the sensors located on the underside and sides of the vacuum. Use a soft cloth to gently wipe away any dirt or debris. If the wheels are stuck or unable to rotate freely, check for tangled hair or carpet fibers. Removing these obstacles can significantly improve your robot’s ability to navigate efficiently.
Replacing the Battery
Assessing Battery Health
A faulty or depleted battery can lead to poor performance or a complete inability to power on. If you suspect battery issues, start by checking the battery health. For most robot vacuums, a lithium-ion battery is standard. If your vacuum is more than a few years old, its battery may need replacement.
To test the battery, use a multimeter to measure its voltage. If it falls below the manufacturer’s recommended voltage, it’s time for a replacement. Always consult your user manual for battery specifications and follow guidelines for safe handling.
How to Replace the Battery
Replacing the battery is typically straightforward, although it may vary by model. Usually, you’ll need to:
- Turn off the vacuum and unplug it.
- Locate the battery compartment, often found at the bottom of the device.
- Use the appropriate screwdriver to remove the screws securing the battery cover.
- Gently detach the old battery and replace it with the new one, ensuring the connectors align properly.
- Reattach the battery cover and screws.
Once you’ve replaced the battery, charge the vacuum for several hours before testing. This ensures the new battery is fully functional.
Cleaning and Maintaining Brushes
The Importance of Clean Brushes
Brushes are critical for ensuring efficient suction and cleaning. Over time, hair, dirt, and debris can accumulate on the brushes, diminishing their effectiveness. Regular cleaning is essential to keep your vacuum operating at optimal levels. Neglecting this maintenance will lead to poorer performance and potentially damage the brushes over time.
Check your brushes at least once a month or more often if you have pets that shed. Keeping the brushes clean will help maintain your vacuum’s performance and prolong its lifespan.
Steps for Cleaning or Replacing Brushes
To clean or replace your robot vacuum’s brushes:
- First, turn off the device and remove the dustbin.
- Examine the brush housing, which is typically accessible by pressing a release button or unscrewing a cover.
- Remove the brushes and inspect them for damage or wear. If the bristles are frayed or broken, it’s best to replace them.
- For cleaning, use scissors to gently cut away any hair or debris entangled around the brushes. A small brush or toothbrush can also help dislodge any lingering dirt.
- After cleaning, reassemble the brushes and cover.
Regularly cleaning your brushes will improve suction power and efficiency, enabling your vacuum to pick up dirt and debris more effectively.
Fixing Sensor Issues
Recognizing Sensor Problems
Sensors are pivotal for a robot vacuum’s navigation and obstacle detection. If your vacuum frequently bumps into furniture or fails to navigate effectively, sensor issues may be at play. Assess whether the sensors are clear of dirt and debris, as even minor obstructions can disrupt their functionality.
Additionally, check for visible damage or misalignment. If sensors appear damaged, replacement may be necessary. Ensure to identify which sensors are causing issues; typically, there are multiple sensors scattered around the device.
Cleaning and Replacing Sensors
To address sensor problems, follow these steps:
- Turn off your robot vacuum and remove any attachments or brushes that obstruct access to the sensors.
- Locate the sensors, which are usually positioned on the front and underside of the vacuum.
- Use a soft cloth to clean the sensor surfaces gently. Avoid using harsh chemicals that could interfere with the sensor functionality.
- If you identify damaged sensors, consult your model’s user manual to find compatible replacement parts.
After cleaning or replacing the sensors, test your vacuum’s navigation to assess improvements.
Dealing with Software Issues
Understanding Software Functions
Many modern robot vacuums repair rely on complex software for operations like navigation, scheduling, and real-time mapping. If your vacuum behaves erratically or fails in specific functions, it may be a software issue. This often manifests as poor navigation or inability to connect to Wi-Fi.
Updates are periodically released by manufacturers to improve software performance and compatibility. If you suspect a software glitch, check for updates using the vacuum’s app or manufacturer’s website. Make sure your device has the latest version installed.
Resetting Your Robot Vacuum
If software issues persist despite updates, consider resetting your robot vacuum. Most models allow you to perform a factory reset, restoring all settings to default. Keep in mind this will erase any custom settings or schedules you’ve created.
To reset your vacuum:
- Locate the reset button, often found on the underside or back of the device.
- Use a paperclip or similar tool to press and hold the reset button for about 10 seconds or until you see indicators signaling a reset.
- Once done, follow the manufacturer’s instructions to set up your vacuum as a new device.
Resetting can resolve numerous software-related problems and enable your robot vacuum to operate smoothly once again.
When to Seek Professional Help
Recognizing Limitations
After troubleshooting and performing repairs, you might still find that issues persist. If your robot vacuum is stuck in a cycle of malfunction despite your best DIY efforts, it may be time to consider professional help. Common indicators include frequent errors, excessive battery drain, or mechanical failures that you can’t diagnose.
Understanding your limitations is vital. Not every issue can be repaired at home, and attempting overly complex repairs can lead to additional damage. If you feel unsure about how to proceed, professional technicians are trained to handle various robot vacuum problems efficiently.
Finding a Repair Service
If you decide to seek professional help, look for reputable repair services in your area. Check for reviews and ratings to ascertain their credibility. Some manufacturers offer authorized repair services that can provide high-quality repairs using genuine parts.
When approaching a repair service, provide a detailed description of the issues you’re facing and any steps you’ve already taken. This information can help technicians diagnose the problem more quickly and efficiently.
Mastering Your Robot Vacuum Repair
Becoming proficient in DIY robot vacuum repair empowers you to extend the lifespan of your device and enhances your understanding of how it operates. Regular maintenance, cleaning, and troubleshooting can prevent many common issues, ensuring that your vacuum continues to serve its purpose effectively.
By knowing when to tackle robot vacuum repair yourself and when to seek professional assistance, you can become a pro at keeping your robot vacuum repair n top condition. Embrace these DIY skills and enjoy the benefits of a clean home without unnecessary expenditure. With the right attitude and knowledge, fixing your robot vacuum will become a manageable—and even rewarding—task.