In today’s fast-paced, tech-driven world, the way we illuminate our homes has drastically evolved. Enter smart lighting—an innovative solution that enhances your living environment while providing convenience, energy efficiency, and customization. Among the variety of smart lighting options, Sylvania smart bulbs stand out for their user-friendly features and affordability. This guide will walk you through everything you need to know to set up Sylvania smart bulbs in your home, allowing you to enjoy a brighter, smarter living space.
Understanding Sylvania Smart Bulbs
Why Choose Sylvania?
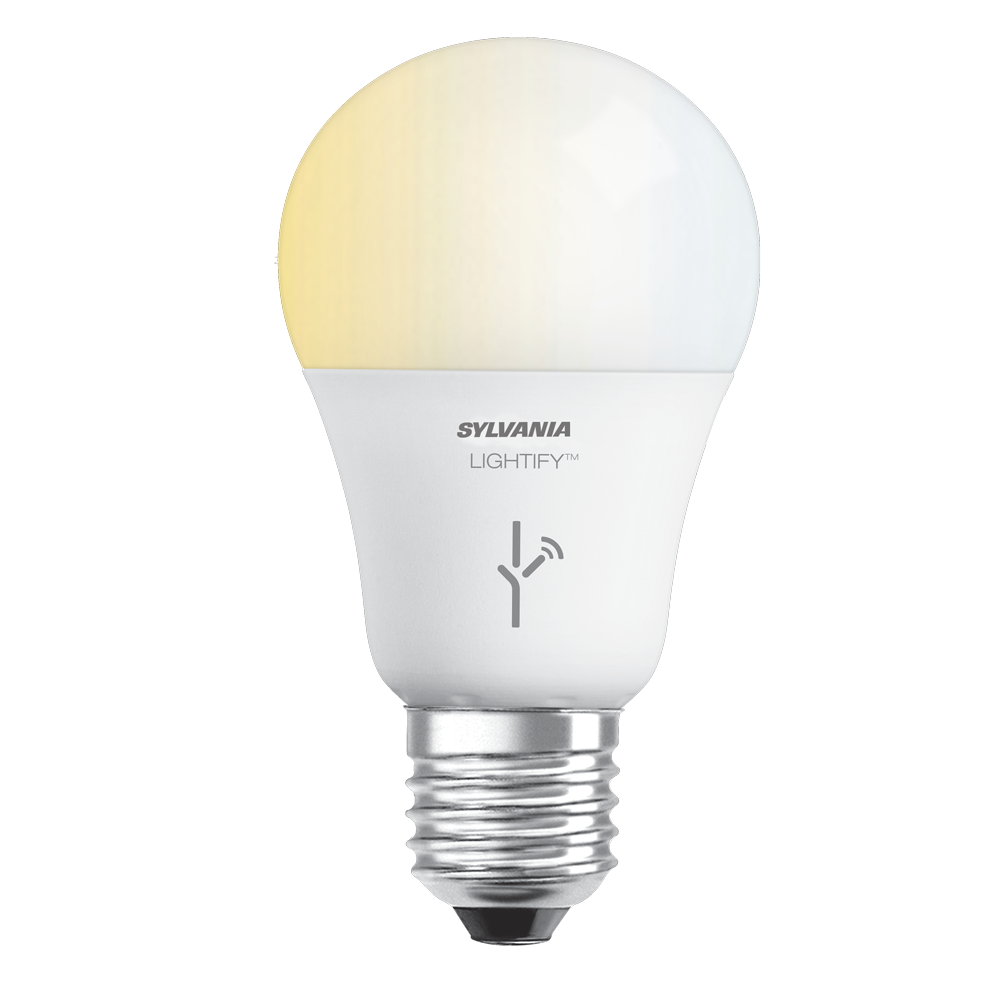
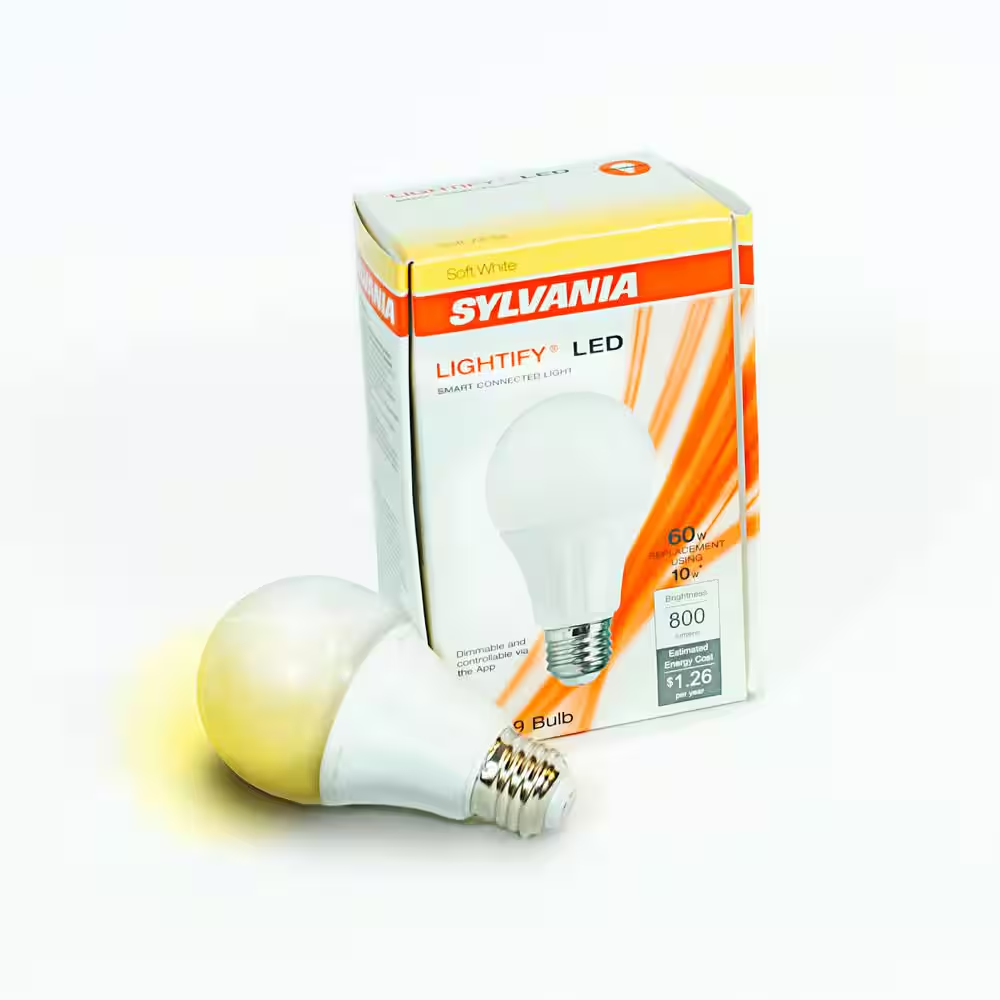
Sylvania smart bulbs offer many benefits, making them a popular choice for smart home enthusiasts. They connect easily to your home Wi-Fi, eliminating the need for complicated hubs or additional equipment. With a variety of options—including different brightness levels, colors, and shapes—you can customize your lighting to suit any mood or occasion. Additionally, Sylvania bulbs are compatible with major smart home platforms, including Apple HomeKit, Amazon Alexa, and Google Assistant, allowing you to control your lighting effortlessly.
Features of Sylvania Smart Bulbs
These innovative bulbs come packed with features that enhance their appeal. You can dim the lights, adjust the color temperature, and change colors to match your décor or mood. Many Sylvania smart bulbs even have pre-set scenes that mimic natural daylight, helping you wake up gently in the morning or unwind in the evening. Integration with voice assistants makes controlling your lighting a breeze. Instead of fumbling for a switch, simply ask your voice assistant to adjust the lights, leaving your hands free for other tasks.

Planning Your Smart Lighting Setup
Assess Your Needs
Before diving into setup, take some time to assess your lighting needs. Walk through your home and identify the areas you wish to enhance with smart lighting. Think about which rooms you use the most and where mood lighting could improve the atmosphere. Consider whether you want bright, focused lighting for tasks like reading or softer hues for relaxation.
Choose the Right Bulbs
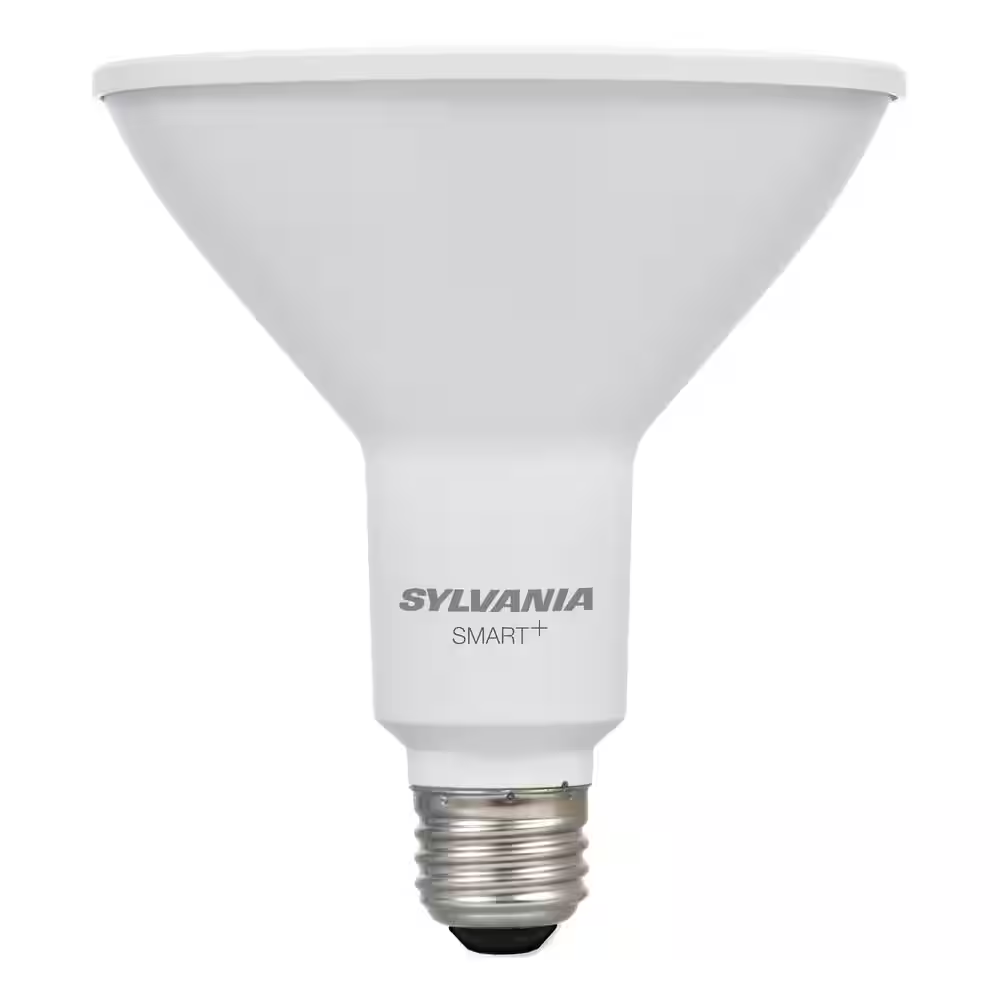
Once you’ve determined your needs, it’s time to select the right Sylvania smart bulbs for your space. Consider factors like brightness, style, and color options. For example, if you want to create an inviting atmosphere in your living room, opt for dimmable bulbs with adjustable color temperatures. If you’re outfitting a workspace, choose bulbs that provide bright, white light to enhance visibility. Assess your existing light fixtures to ensure compatibility, and remember that Sylvania offers both traditional bulb shapes and smart LED strips.
Downloading the App
Sylvania Smart Home App
The Sylvania Smart Home app is your gateway to controlling your smart bulbs. Start by downloading the app from the Apple App Store or Google Play Store. Once downloaded, create an account or log in if you already have one. The app provides a user-friendly interface to manage your decorative lighting in real-time.
Setting Up Your Account
After logging in, follow the prompts to set up your account. You’ll need to enter your location to customize features like sunrise and sunset schedules based on your region. Providing your Wi-Fi information will allow the app to connect to your home network. A strong, stable Wi-Fi connection is crucial for optimal performance, so ensure you’re connected to the 2.4 GHz band, as many smart bulbs may not work well with the 5 GHz band.

Installing the Sylvania Smart Bulbs
Step-by-Step Installation
Once you have your bulbs and app ready, it’s time to install the Sylvania smart bulbs in your desired fixtures. Start by turning off the power to the light fixture at the wall switch or circuit breaker. Safely remove the existing bulbs, ensuring you follow any manufacturer guidelines. Next, screw in the Sylvania smart bulbs, making sure they’re securely fastened.
Powering Up
After installation, turn the power back on at the switch or breaker. It’s essential to wait a few moments for the bulbs to initialize. When powered on, the smart bulbs will typically blink or change color briefly, indicating they’re ready to connect to your app. If they don’t respond, double-check that the bulbs are fully screwed in and the fixture is powered.
Connecting to Wi-Fi
Adding the Bulbs in the App
With your bulbs powered on, open the Sylvania Smart Home app. The app will usually prompt you to add new devices. Follow the on-screen instructions to locate the bulbs. The app will search for nearby devices, allowing you to select the bulbs you’ve installed. Once found, it will guide you through the process of connecting to your Wi-Fi network.
Troubleshooting Common Issues
If you encounter difficulties connecting the bulbs to Wi-Fi, ensure that your phone is connected to the same network you want the bulbs to use. If issues persist, try turning the bulbs off and on again to reset them. You can also check for software updates in the app to ensure compatibility with your network’s settings. Often, simply resetting the bulbs or restarting the app can solve minor connectivity problems.

Customizing Your Lighting Experience
Creating Groups and Scenes
Once connected, utilize the Sylvania Smart Home app to organize your bulbs into groups. For example, you can create a “Living Room” group that includes all lights in that area, allowing you to control them simultaneously. Scenes let you set specific lighting conditions for various occasions—like a movie night or dinner party—creating the perfect atmosphere with just a tap or voice command.
Scheduling and Automation
Scheduling is another powerful feature of smart lighting. You can set your Sylvania bulbs to automatically turn on or off at specific times, enhancing energy efficiency and security. For instance, program the lights to brighten as you wake up in the morning and gradually dim in the evening to help you wind down. Automation features also allow your lights to respond to activities—if your security system detects motion, for instance, your lights can illuminate the area, providing an extra layer of safety.
Integrating with Smart Home Systems
Compatibility with Voice Assistants
One of the most convenient aspects of Sylvania smart bulbs is their compatibility with popular voice assistants like Amazon Alexa, Google Assistant, and Apple Siri. By integrating your smart bulbs with these systems, you allow for hands-free control. Simply ask your voice assistant to adjust the lights, change colors, or activate scheduled scenes, making your home smarter and more connected.
Advanced Automation with Smart Hub
If you have a smart home hub such as SmartThings or Apple HomeKit, you can further integrate your Sylvania bulbs to create more complex automated routines. For example, you could set up your lights to dim automatically when you start watching television or adjust to warmer hues when you’re reading. The possibilities are extensive, and using a dedicated hub can enhance the overall functionality of your smart lighting system.
Conclusion
Setting up Sylvania smart bulbs is an easy and rewarding way to take your home lighting to the next level. With their versatility, energy efficiency, and compatibility with various smart home systems, Sylvania smart bulbs offer a wealth of benefits. By following the steps outlined in this guide, you can create a customized lighting experience that not only enhances your home’s ambiance but also complements your lifestyle. So, embrace the convenience and creativity that smart lighting brings, and enjoy the stunning results in your living space!